There are many ways to set up and print a greeting card using Photoshop. This tutorial offers a "Photoshop as a layout tool" approach to greeting card printing. If you think of the canvas you will make as the unfolded card (outside or inside), then learning where to place images, text, borders, etc. will be very easy.
Note that there will always be a small white border around on the outside edges of Red River Paper greeting cards . Borderless greeting cards are possible in only certain instances. You must use a 7x10 card and have a 13" wide printer. Special help for that is here.
Start with a blank canvas. Choose File > New from the top menu. 1) Make a new canvas based on these size rules:
2) Set resolution to 300ppi. |
STEP 1 - CREATE A BLANK CANVAS 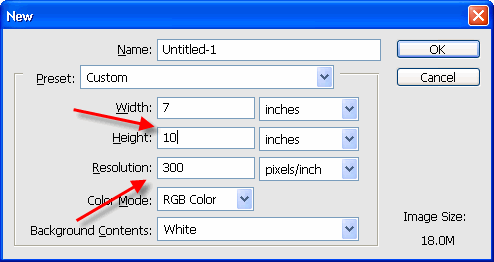 |
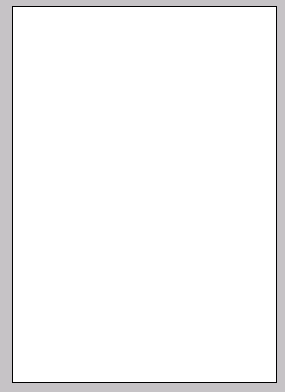 |
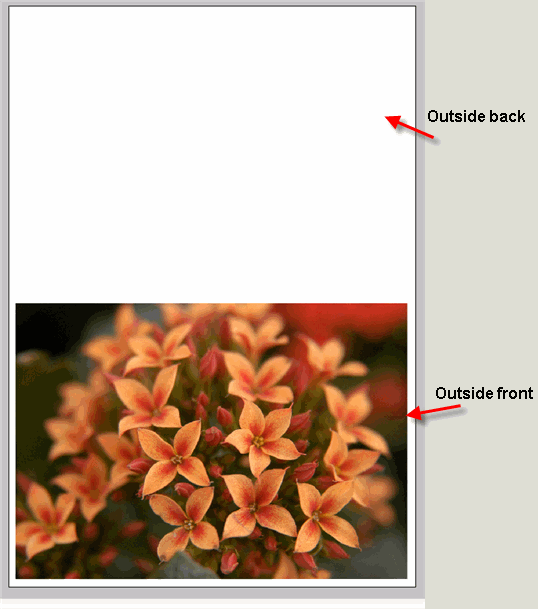
Your blank canvas for horizontal photo orientation will look like this. The lower half of the page will be the outside front of the card. The top half is the outside back. |
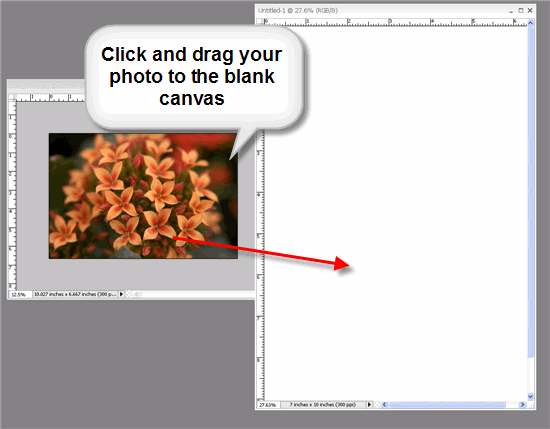
STEP 2 - CARD LAYOUT Next, open the image(s) that you want on the front of your card. You can prepare images beforehand with borders or other special effect. Or, you can open a simple unaltered image for placement on the card. Make sure you crop or otherwise size your image to the dimensions at right. Now, use the Move tool and drag images onto the blank canvas you created in the step above. They will come into the blank document as new layers. 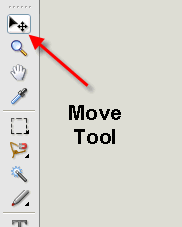 |
NOTE! These cards have a maximum image area that can go on each side without any cropping. Check this chart for the rules:
|
|
Continuing to use the MOVE TOOL, place the new photo (layer) centered on the bottom half of your card as shown at left. As long as the MOVE TOOL is selected (hit the V key on your keyboard to make sure), you can use the cursor keys to move the photo in small increments. HINT - Turn on the GRID function during this process. It will better let you center the photo: 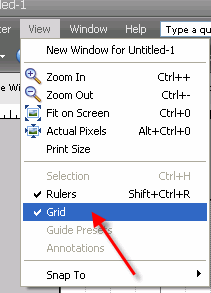 |
|
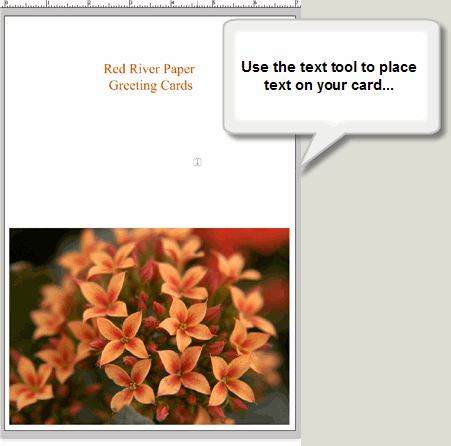
You can now add text to your card using the TEXT TOOL. Refer to Photoshop help if you are unfamiliar with how to use this feature. 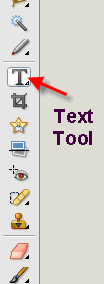 |
|
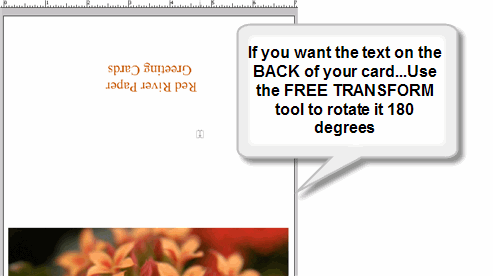
SPECIAL HINT! If you want text on the back of your card it must be rotated 180 degrees! Use the FREE TRANSFORM tool - make sure you have selected the text layer first. 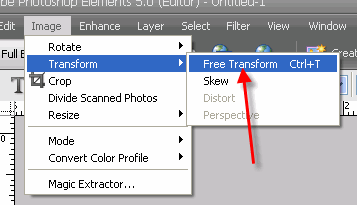
Read your Photoshop help if you are unfamiliar with this tool or how to select the text layer. |
|
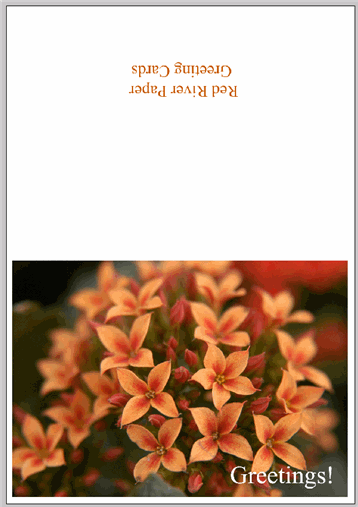
Your finished card should have a minimum margin is no less than a 1/8" border on all sides of the card. Once you have added text to your liking its time to move on to print your card! |
Last updated: February 04, 2020


