Getting ready to print
Go to the File menu and choose Print.
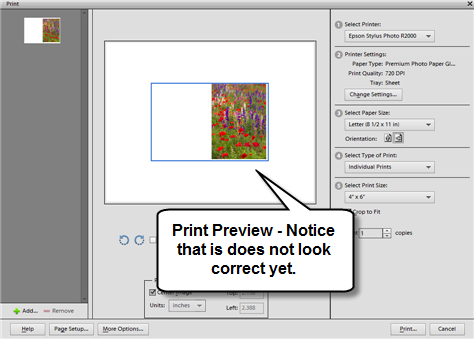
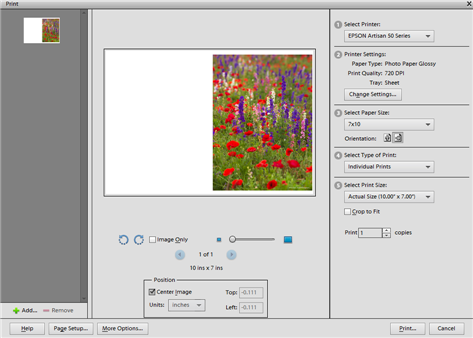
You will see the print dialog.
Notice how the preview does not look right. We have to go to the printer properties and set a custom paper size to complete our setup.
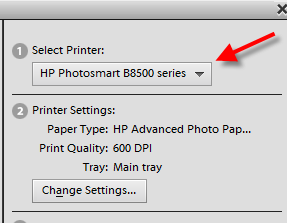
Make sure your printer is chosen in the Select Printer menu at the top center of the dialog.
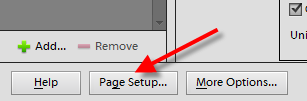
On the lower left of the dialog, locate and click the Page Setup button. This will launch your printer's property dialog.
Setting the Printer Properties
Start by setting the media type, print quality, and color management options.
Details regarding these settings are included with your paper. You can learn more about color management here.

Define a Custom Paper Size
Click on the Features tab, then click on the Paper Size Options drop down menu. At the bottom of the listing locate and click on Custom...
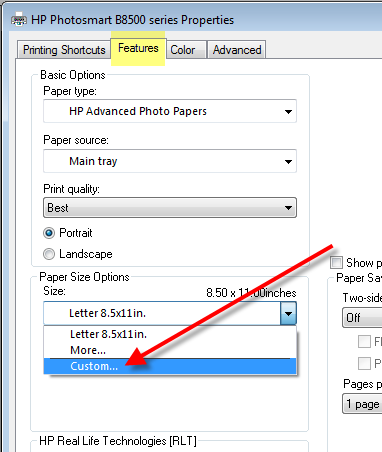
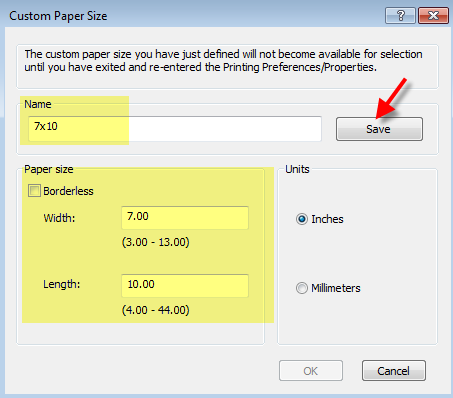
The Custom Paper Size dialog will appear.
1) Define the paper width and height. Use this chart as a guide.
| Paper Size | Width | Height |
|---|---|---|
| 7x10 | 7" | 10" |
| 6.25x9 | 6.25" | 9" |
| 5.5x8.5 | 5.5" | 8.5" |
| 8x9 Pano | 8" | 9" |
| Square Card | 5.25" | 10.5" |
Final Steps
Click OK in the printer properties dialog to return to the Photoshop Elements print dialog.
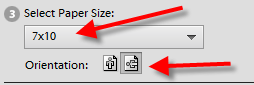
1) Verify that the Select Paper Size drop down now says the custom size name you just defined.
2) Set Orientation to Landscape.
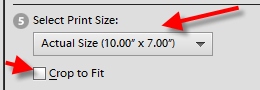
3) Set the Select Print Size drop down to "Actual Size".
4) Uncheck "Crop to Fit"
Card Layout Complete - Click Print
Congratulations! You have set up and printed a Red River Paper greeting cards.
Top Tip - Cut plain copy paper to your card size for printing practice before using the good stuff.
Related Posts and Information
Last updated: August 19, 2020


