STEP 4 - CUSTOM PAPER SIZE
After clicking the Print Settings button in Photoshop, you will be presented with your printer's preferences or properties menu.
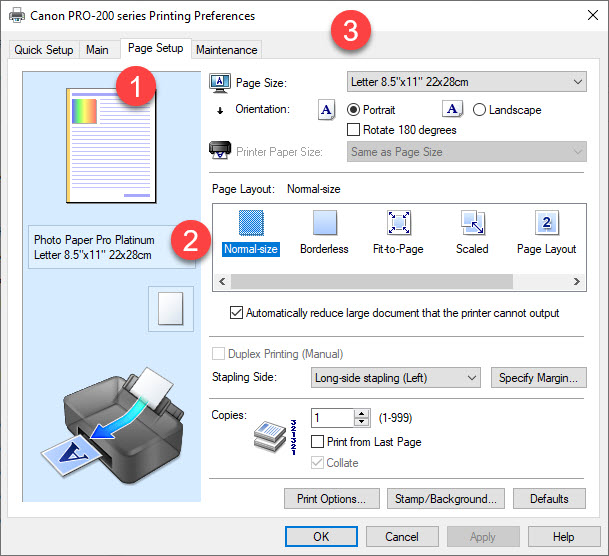
1 - Click on the Page Setup tab
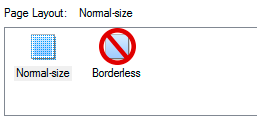
2 - Verify Normal-size is selected in the Page Layout section
Verify you do not have the Borderless option chosen. This will deactivate the custom paper menu.
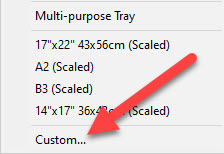
3 - Click on the Page Size menu and scroll to the bottom where you will choose Custom...
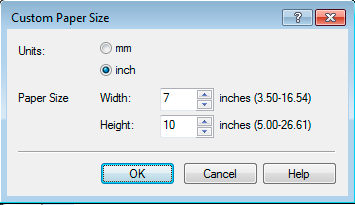
Custom Paper Size Definition
Use the table below as your guide for defining custom note card sizes.
Width is always the smaller dimension
Height is always the larger dimension
It does not matter how your card is designed or opens!!
| Paper Size | Width | Height |
|---|---|---|
| 7x10 | 7 | 10 |
| 6.25x9 | 6.25 | 9 |
| 5.5x8.5 | 5.5 | 8.5 |
| 8x9 Pano | 8.0 | 9.0 |
| 5.25x5.25 Square | 5.25 | 10.5 |
3) Click OK
4) Verify your other printer settings - media type, print quality, color management, and click OK to return to Photoshop.

STEP 5 - PRINTING
In the PHOTOSHOP PRINT DIALOG -
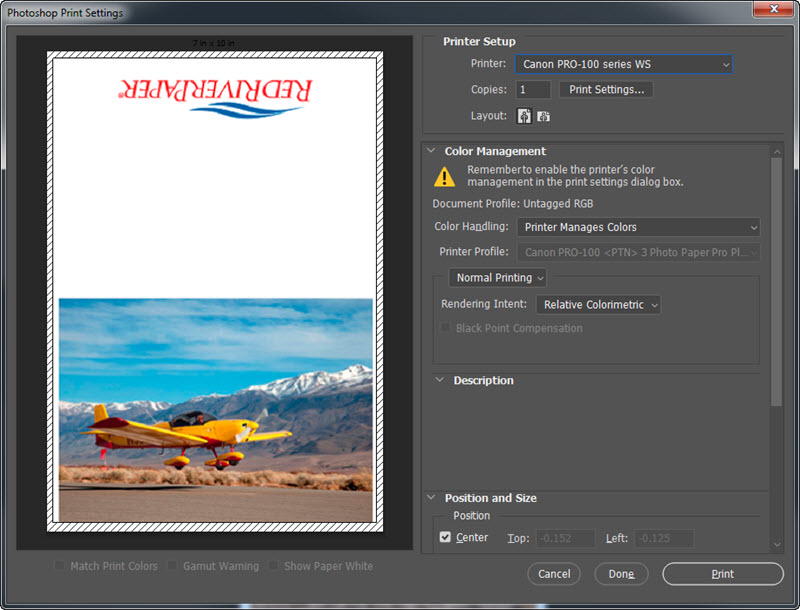
Set orientation to PORTRAIT.
If your preview looks wrong, look at this control first before investigating other causes.
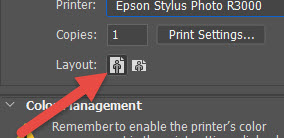
Once the orientation is set correctly, your preview will look like a printed and unfolded card. See below.
The hash marks around the border represent your printer's margins.
When ready, you can click Print.
If the below warning pops up, click Proceed. It will not affect the print output.
Congratulations! You have set up and printed a Red River Paper greeting card.
Trouble shooting questions? Click here
Related Posts and Information
Last updated: November 09, 2022


