Borderless Card Printing Note - Most inkjet printers cannot print greeting card sizes with no border / margin.
This means there will be a small white border around on the outside edges of your card.
Get Started - Template Download
Red River Paper offers free blank templates for Photoshop here. Using the templates will save you a bit of time, and come with helpful guides that show the scoreline and margins.
Step 1 - Open and prepare the card template
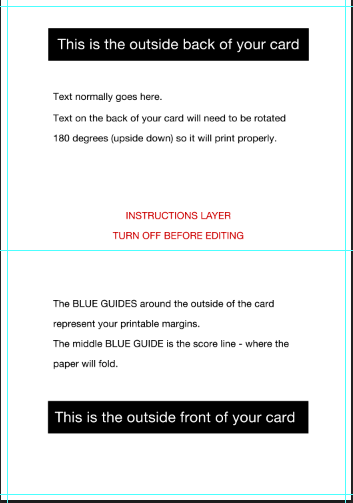
This is the Red River Paper template when first opened. The instructions, showing the front and back of the card, as well as the fold line and printable margins, is a layer that needs to be turned off before proceeding.
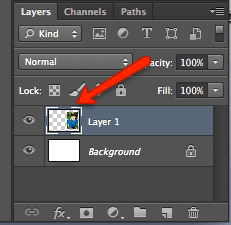
To turn the layer off, go to the Layers pallet as shown below and click the "eyeball" icon next to the Instructions layer.
STEP 2 - Card Layout
Next, open the image(s) that you want on the outside of your card. You can prepare images beforehand with borders or other special effects. Or, you can open a simple unaltered image for placement on the card.
Make sure you crop or size your images using the table below as a guide.
Borderless printing with custom sizes, like Red River Paper note cards, is not generally not possible. There are some exceptions we discuss here.
This table shows your maximum printable area for our card sizes.
| Card Size | Max Image Width | Max Image Height |
| 7 x 10 (A7) | 6.75" | 4.75" |
| 6.25 x 9 (A6) | 6" | 4.25" |
| 5.5 x 8.5 (A2) | 5.25" | 4" |
| 5.25 x 5.25 (Square) | 5" | 5" |
| 8 x 9 Pano | 8.75" | 3.75" |
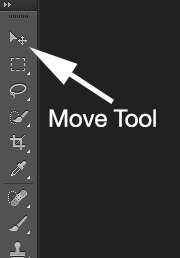
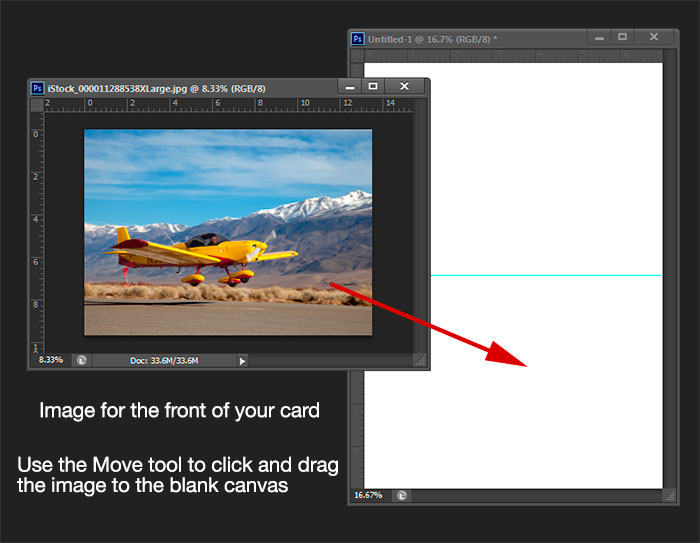
Now, use the Move tool and drag images onto the blank canvas you created in the step above. They will come into the blank document as new layers.
Your completed card should look similar to the example. The black area is the Photoshop workspace, not the card layout.
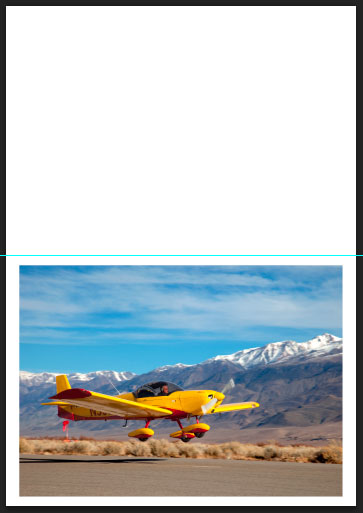
To customize further, drag more images onto the canvas or add text and borders like the example at left.
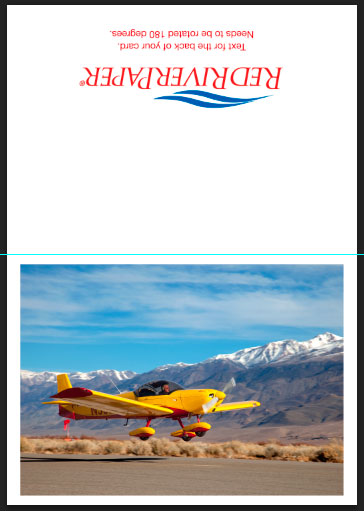
All text and images on the outside back of the card MUST be UPSIDE DOWN in your layout to print correctly.
Next Step - Printing Your Card
Click here for the next step - printing
Related Posts and Information
Last updated: March 10, 2025


