Vertical Image Design
You are at the beginning of the "Greeting card setup and printing tutorial for Photoshop Elements, vertical image design, for Mac."
If you think of the canvas you will make as the unfolded card (outside or inside), then learning where to place images, text, borders, etc. will be easy.
Get Started - Template Download
Red River Paper offers free blank templates for Photoshop Elements. Using the templates will save you a bit of time, and come with helpful guides that show the score line and margins. Click here to download.
Prepping Photoshop Elements
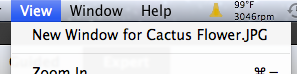
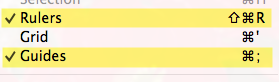
First, turn on the Photoshop Elements Rulers and Guides.
Go to the View menu and click both rulers and guides. They are helpful when desiging your card.
Set Photoshop Elements to "Expert" mode.

Getting Started
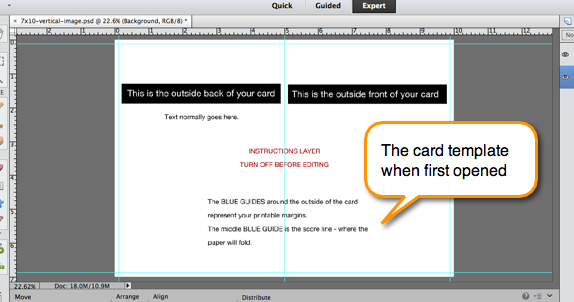
Find and open the template for your project. They are sorted by size and image orientation.
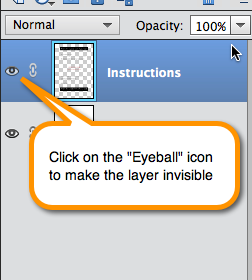
Quick Tip - Making a layer invisible, or turning the layer "off".
Preparing Your Card's Image
Next, open the image(s) that you want on the front of your card. You can prepare images beforehand with borders or other special effect. Or, you can open a simple unaltered image for placement on the card.
| Card Size | The Maximum Printable Image Area for the Size |
|---|---|
| 7 x 10 | 4.75" w x 6.75" h |
| 6.25 x 9 | 4.25" w x 6" h |
| 5.5 x 8.5 | 4" w x 5.25" h |
| 5.25 x 10.5 | 5" w x 5" h |
| 8x9 Pano | 3.75" w x 8.75" h |
| 8.5x11 | 5.25" w x 8.25" h |
Putting the Image on Your Card Layout
Verify you have the Photo Bin selected. It will allow you to see all open images.
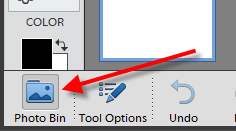
With the Photo Bin activated, you will see both the image and the blank template file.
Next, we will drag the image onto the blank template as a layer.
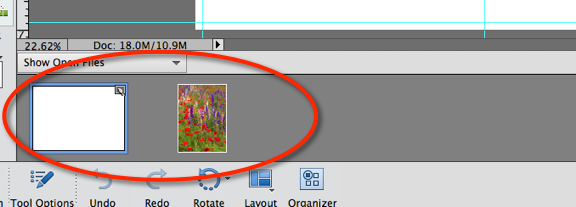
Double click on the blank template in the Photo Bin. It will become the visible and selected image in the editor.
Now, with the Move Tool selected, click and drag your photo or image from the Photo Bin onto the blank template as shown.
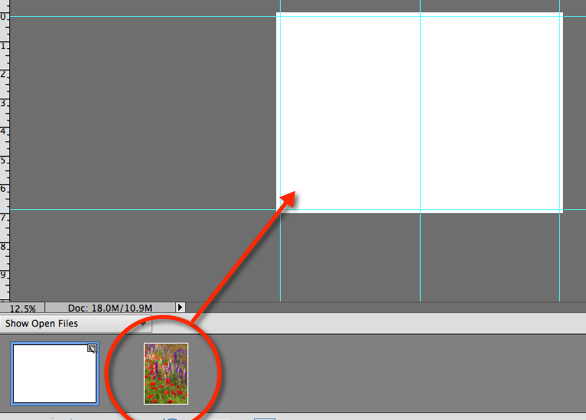
Your image will appear on the blank card layout as a new layer. It will be visible in the layers pallet on the right of your screen.
Next, activate the Move Tool in the tools pallet on the left of your screen. See below.
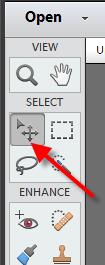
Click and drag on the image and it will move anywhere on the layout.
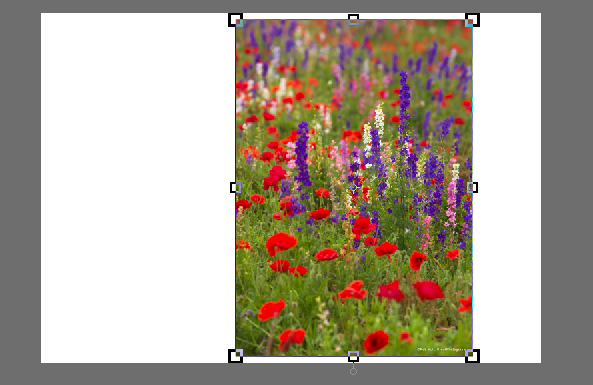
Move the image to the right of your layout and right next to the top, right, and bottom guides. If your image is smaller than the maximum size we recommend above, use the rulers to place the image in the middle of the layout.
You see a card layout with an image centered on the front outside panel.

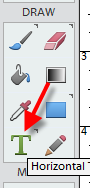
Side Tutorial - the Text Tool
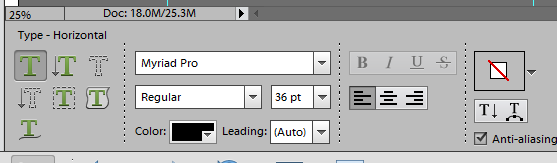
To activate the text tool, locate and click on the "T" in the tools pallet. You will see the text tool controls appear at the bottom of the screen. Use this menu to choose font, size, orientation, and other creative features.
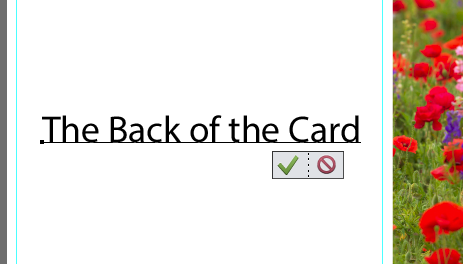
Text on the outside of your greeting card.
With the text tool active, click in the area you'd like to place text. Enter your text and click the green check box when satisfied.
NEXT STEP - Printing Setup
The steps for printer setup are the same for Epson, Canon, and HP printers. Click here to begin.
Related Posts and Information
Last updated: August 20, 2020


