If you are looking for the simplest way to create a basic note or greeting card in Photoshop, this is the place. You will start with an image, and in a few steps end with a card layout - a photo on the outside front and blank outside back. If you want to create a more complex card with multiple images or text go back to the card setup help home.
Borderless printing with custom sizes, like Red River Paper note cards, is generally not possible.
Get Started - Open Your Image
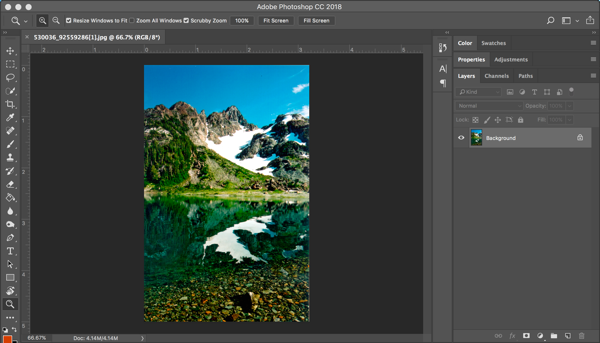
Open the image you want for the outside front of your card. For this tutorial, you will need to choose an image in the vertical (portrait) orientation.
In Photoshop, go to File > Open to begin.
STEP 1 - Image Size Rules
Refer to the table below for the maximum size you can make your image by card size.
Make your photos this size or smaller using the crop tool or image resize feature.
Are you unfamiliar with cropping or image resize? Watch this video.
| Card Size | Max Image Width | Max Image Height |
| 7 x 10 (A7) | 4.75" | 6.75" |
| 6.25 x 9 (A6) | 4.25" | 6" |
| 5.5 x 8.5 (A2) | 4" | 5.25" |
| 5.25 x 5.25 (Square) | 5" | 5" |
| 8 x 9 Pano | 3.75" | 8.75" |
Once you resize your image you are ready for the next steps.
STEP 2 - Create Card Layout
You will now create the card layout using the Canvas size feature in Photoshop.
STEP 2a - Front Panel
At the top Photoshop menu bar, choose Image then Canvas Size.
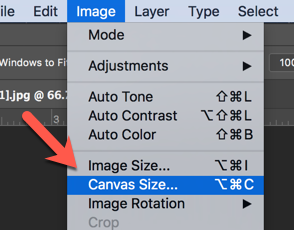
The Canvas Size dialog will appear showing the current image size as the canvas size.
You will resize the canvas based on the paper size you are using and this table.
| Card Size | Set Width To | Set Height To |
| 7 x 10 (A7) | 5" | 7" |
| 6.25 x 9 (A6) | 4.5" | 6.25" |
| 5.5 x 8.5 (A2) | 4.25" | 5.5" |
| 5.25 x 5.25 (Square) | 5.25" | 5.25" |
| 8 x 9 Pano | 4" | 9" |
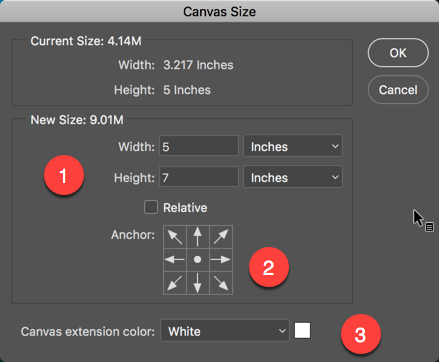
This is an example - use the table above for your dimensions.
1 - Set width and height according to the table below
2 - Verify the Anchor controls look as above
3 - Set background color to white
Click OK.
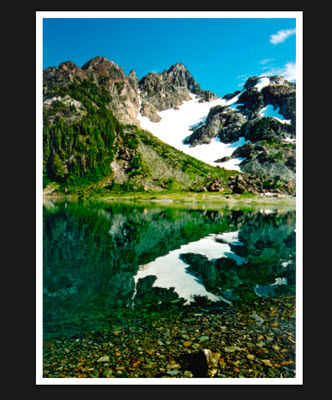
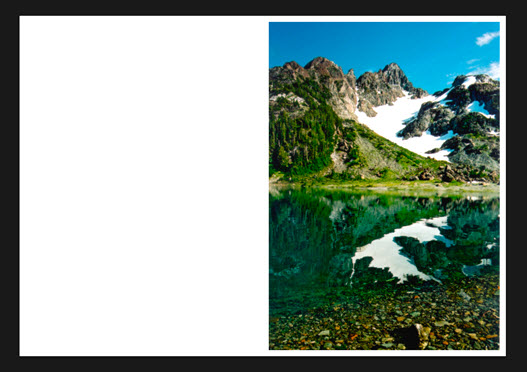
You will notice the image now has a white border on all four sides.
STEP 2b - Complete Card Layout
At the top Photoshop menu bar, choose Image then Canvas Size again.

The Canvas Size dialog will appear showing the new canvas size you just created.
Set the canvas size based on this table:
| Card Size | Set Width To | Set Height To |
| 7 x 10 (A7) | 10" | 7" |
| 6.25 x 9 (A6) | 9" | 6.25" |
| 5.5 x 8.5 (A2) | 8.5" | 5.5" |
| 5.25 x 5.25 (Square) | 10.5" | 5.25" |
| 8 x 9 Pano | 8" | 9" |
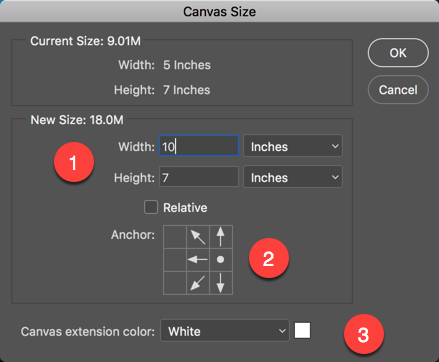
1 - Set width and height according to the table below
2 - Verify the Anchor controls look as above
3 - Set background color to white
Now click OK. The canvas updates and you have a completed, ready to print card! You could take this opportunity to add text with the Text Tool that can go anywhere in the printable margins of your card.
Next - Printing Your Card
Click here for the next step - printing
Related Posts and Information
Last updated: August 28, 2024


