There are many ways to set up and print a greeting card using Photoshop. This tutorial offers a "Photoshop as a layout tool" approach to greeting card printing. The table at right shows each size and the maximum image area you can fit on each. |
|
TO BEGIN - start with a blank canvas. Click the File Menu and Choose New.
Make a new canvas based on these size rules: |
|
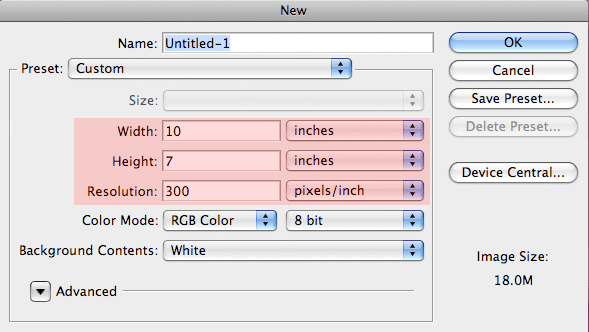
The recommended resolution for inkjet printing is 300ppi
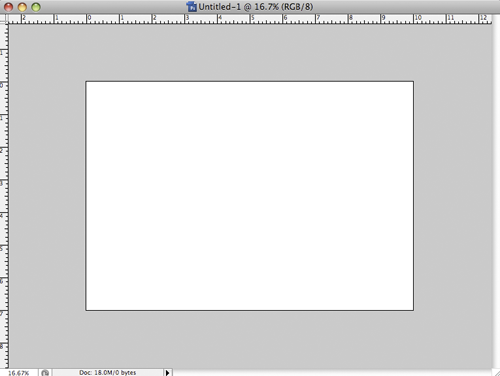 | Your blank layout should look like this. The right half of the layout is the outside front of the card. The left half is the outside back of the card. |
Next, open the image(s) that you want on the front of your card. You can prepare images beforehand with borders or other special effects like the flower image at right. Or, you can open a simple unaltered image for placement on the card.
| NOTE! Keep the maximum image area in mind when setting up your cards. Check this chart for the rules. |
|
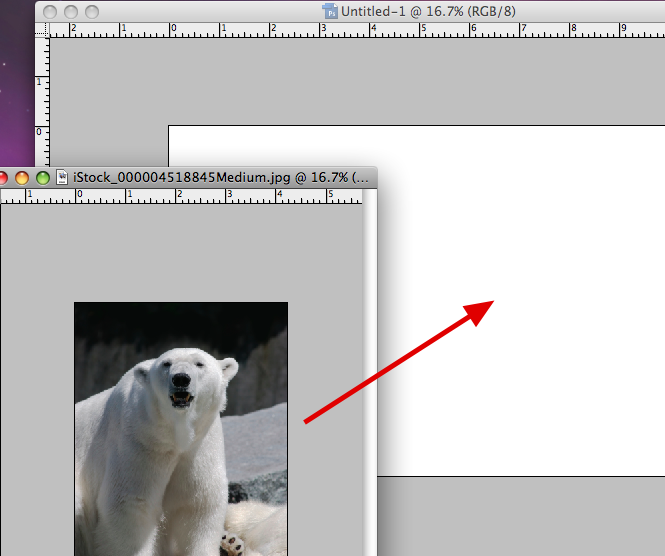
Now, use the Move tool and drag images onto the blank canvas you created in the step above. They will come into the blank document as new layers.
 | Check your layers pallett. You will see the image you just dragged to the blank layout as an individual layer. |
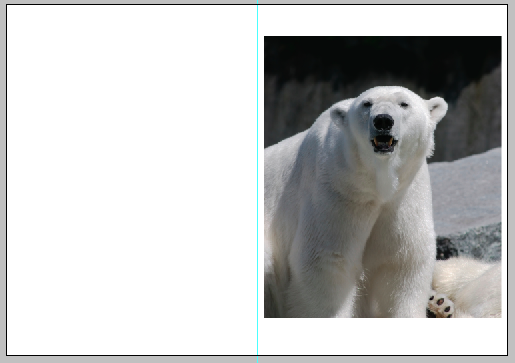
At this point, you can add text to the outside of your card. More images can be dragged onto the canvas for front or back printing. Remember that you will end up with no less than a 1/8" border on all sides of the card.
Click here for the next step - printing
Related Posts and Information
Last updated: February 04, 2020


