The Epson R3000 was released in March of 2011. Red River Paper had one immediately dispatched to our Dallas headquarters for evaluation and profile production. Below is an overview of the unpacking, installation, printer drivers, and first impressions of this new machine.
The R3000 is the successor to the Epson R2880. In many respects the printers are quite similar. For the new printer, Epson has added some new features and most notably larger ink tanks. Below is a walk through of our opening, unpacking, and setup of the Epson R3000. Below that you'll find a printer driver walk-thru , views of the printer control panel screen, and first impressions.
Printer color profile targets have been printed and will be forwarded to the professionals at Chromix. They will create high quality profiles and Red River Paper will have them available ASAP.
The R3000 box arrived on our dock this week. The box is quite large and weighs 44 pounds. You may need to enlist some help moving it. The contents were well packed and easy to get out of the box.
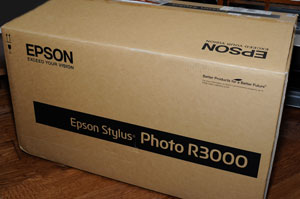
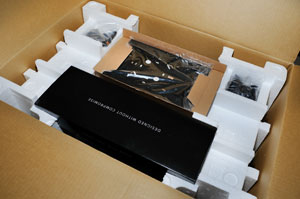
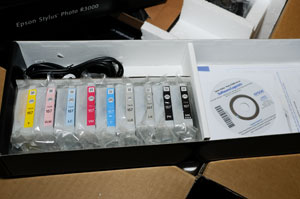
The contents of the R3000 shipping box include:
- printer
- roll holders
- CD tray (for printing CDs)
- inks
- manual
- power cord
- driver CD
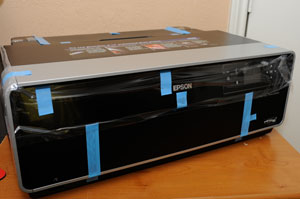
Since the printer comes a long way, it is more than adequately packed and secured. As you can see in the above image, there are about 25 pieces of blue tape holding everything snug and plastic wrap to protect the shiny outer surface.
After plugging in the printer, the quick start guide will get you going in a few simple steps.
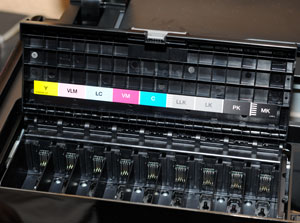
After powering the R3000 on, the display directs you to install all nine ink tanks.
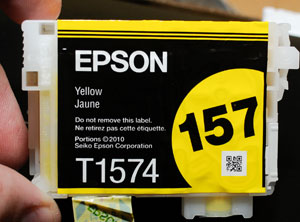
The printer comes with a full set of inks. The new 25.9 ml ink tanks look like two standard desktop tanks stuck together. Installation is easy and fast.
After about 10 minutes of charging, the printer showed ready to print.
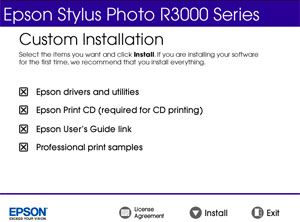
Software installation was like any other Epson. You've got the option to install software either automatically, or in custom mode where you choose the software you'd like on your computer. There are four parts:
- Printer driver
- Epson Print CD software
- User's guide link
- Professional print sample images
The R3000, ready to print, has three media feed paths.
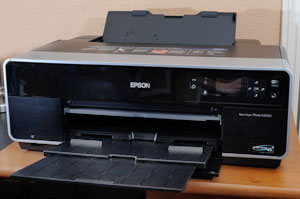
- Top tray - for the majority of media you'll use
- Front single sheet path
- Roll feed
The top tray can hold 20 to 100 sheets of paper, depending on the thickness of your media. We use this paper path for the bulk of our printing needs.
The front single sheet path is designated for fine art papers and poster board. Basically, Epson is suggesting that you use this paper path for media over 15 mil thick.
Specialty Media Paths
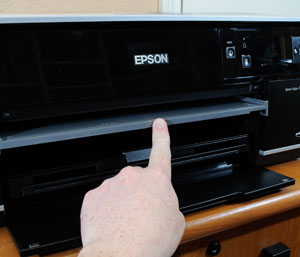
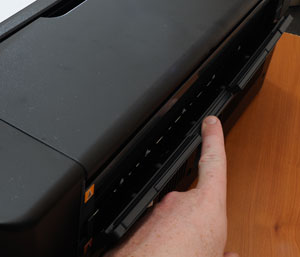
To activate the single sheet path, start by pushing on the gray bar that extends over the paper output tray.
Pushing on it will cause the tray to lower and extend out.
The back of the printer has a door that opens. When using the flat feed, you will pull up on the door to extend a paper support.
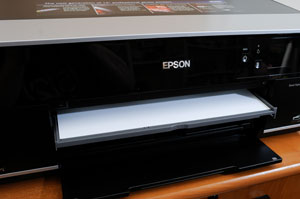
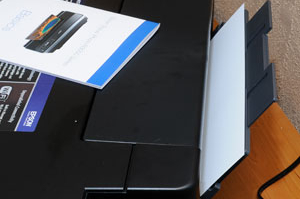
The images above show a sheet fed into the single sheet path. Notice how the back paper support deflects the paper upward (if the sheet is long enough). This is a clever way to allow your printer to be much closer to the wall than previous models with a flat path.
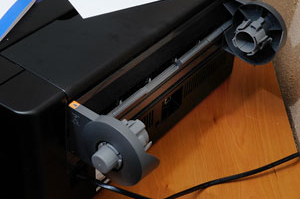
The printer also comes with two roll holders they simply attach to the back of the machine. The rear door is open and the paper support is not extended. When paper is fed into this slot, the printer recognizes it as a roll and begins the feed process.
Red River Paper offers some of our 13 inch roll paper
Last updated: June 30, 2021


