Wondering how to print cards at home? Whether you're a hobbyist or a professional, mastering the art of printing greeting cards is essential. Our guide includes 8 steps (along with some bonus tips) that will help you ensure each card looks great and feels personal. From selecting the best greeting card stock paper and matching envelope sizes to adjusting your printer settings for top-notch results, these pointers will guide you through creating exceptional greeting cards right from your home printer.
1: Create a Custom Paper Size in Your Printer Properties

In order to use most pre-scored inkjet greeting cards, you'll need to define a custom paper size to your printer. Epson, Canon, and HP printers all have this feature. The trick is to always define paper sizes the same way. Set the width to the smaller dimension of your paper and the length or height will always be the longer dimension of your sheet. After that you only need to change the orientation button depending on how your greeting card is laid out.
2: Use Photoshop or Photoshop Elements for Best Results
We recommend Photoshop or Photoshop Elements as your best option for greeting card layout and printing. The programs offer the most flexibility in terms of layout size, photo and text placement, as well as color management. Although Photoshop is an expensive program, the Elements version is quite affordable and offers all of the options you need. If you're not a fan of Adobe, Affinity Photo is a good alternative. Red River Paper supports these apps, plus others, in our greeting card support center.
3: Printing on the Inside and Outside of Your Cards
Print the inside of your card first.
If you want to print text or graphics on the inside of your card, print that information first. This means the photo side will only pass through the printer once, which limits the possibility of scratching.
4: Before You Purchase Your Cards
Decide if you want to print photos on the outside AND inside of your card before you buy your paper.
Not all inkjet printable card stock is designed for photo printing on both sides. Decide ahead of time on your design then make your paper purchase. If you want photos on both sides of the paper look for a paper that is called double-sided or C2S.
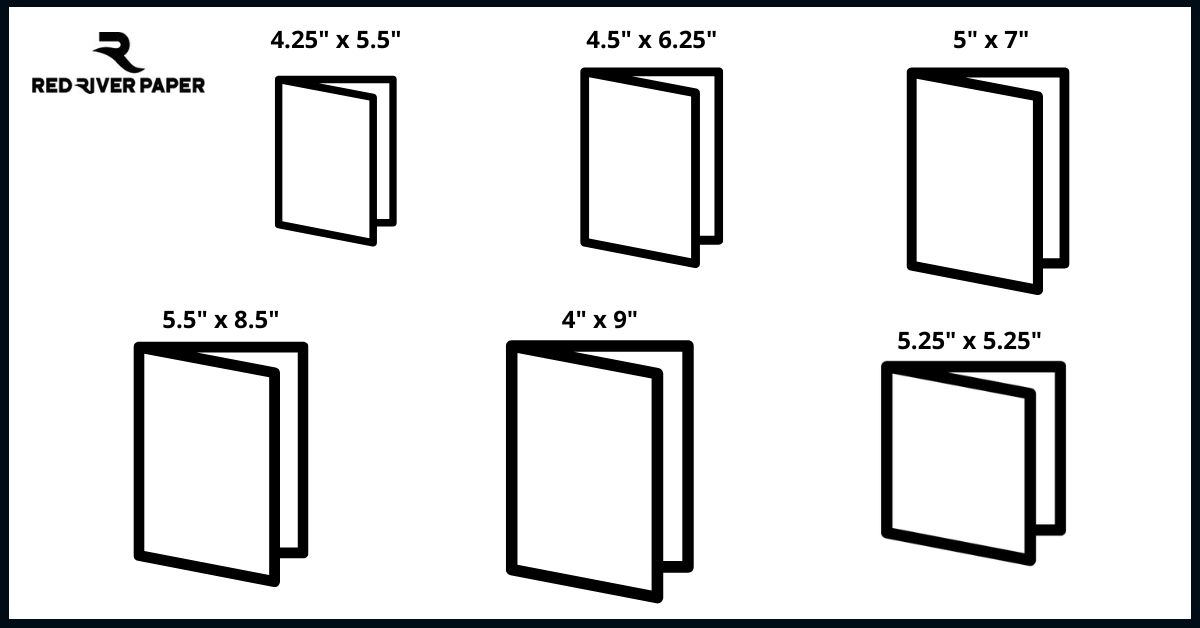
5: Make Sure Envelopes Match the Your Card Size
Greeting cards are usually sized to Match Standard Envelope Sizes. Below is a chart to help you verify your envelope size is right:
| Card Size Before Folding | Envelope Name | Envelope Dimensions |
|---|---|---|
| 5.5" x 8.5 " | A-2 | 4.375" x 5.75" |
| 9" x 6.25" | A-6 | 4.75" x 6.5" |
| 7" x 10" | A-7 | 5.25" x 7.25" |
| 8.5" x 11" | 5.75" x 8.75" | 5.75" x 8.75" |
| 8" x 9" | #10 | 4.125" x 9.5" |
| 5.25" x 10.5" | Baronial Square | 5.5" x 5.5" |
6: Feed Only a Few Sheets at a Time

Most inkjet printers are not really designed to take large stacks of card stock and feed them consistently. Be gentle with your machine and only put 5-10 sheets in the paper tray at one time. With extra heavy papers or fine art cotton media, you may have to feed them one at a time. Some trial and error may be necessary.
See a VIDEO on Feeding the Paper
7: Clean Your Feed Rollers!

It is critical to keep the feed mechanism of your printer clean and free of inkjet coating and paper debris, which are key factors in paper misfeed. Go to Our Red River Feed For Helpful DIY Fed Roller Cleaning Instructions.
See a VIDEO on Feed Roller Cleaning
8: Photo Side First
When printing the outside of your card, make sure the photo side comes out first

Set your layout so that when you click print, the printer prints the photo side of the outside of your card first. This means the outside back of your card will come out of the printer last. This is helpful in preventing head strikes which can lead to black smudges on the edge of thick media.
See a VIDEO on Printing Photo Side First
Bonus Tip 1: What Side to Print?
Red River Paper's pre-scored note card stock is packed print side up in the box.
- For Single-sided Cards pre-scored note card stock is packed with the Outside of the card side up in the box.
- For Double-sided Cards pre-scored note card stock is packed print side up in the box.
- You'll notice that the score line has two distinct sides - an indented side and a raised side. You will fold away from the indented side of any scored card. That is the direction where the paper is weakened to fold but not crack and break.
Of course, you'll want to print AND THEN fold. We also recommend that you allow sufficient time for the ink to dry before folding. Wearing white cotton or similar gloves is also recommended to avoid leaving fingerprints and smudges.
Bonus Tip 2: Square Cards
Square cards require extra postage
The USPS adds a "nonmachinable surcharge" to square letters. At this time the charge is 22 cents on top of the first-class rate.
Example - a 1oz. square card will cost $0.49 plus the $0.22 surcharge for a $0.71 total.
How to Print on a Card?
To print on a card, ensure your printer is equipped for handling thicker materials like cardstock. To begin, adjust the printer settings to accommodate the card's dimensions and thickness. Load the cardstock into the printer's paper tray, making sure not to overload it to prevent paper jams. It's advisable to use the manual feed slot if your printer has one, as this offers more control over the paper's path.
Before printing, review your printer's guidelines on acceptable cardstock weight and size to avoid damaging the machine. Once properly set up, initiate the printing process and allow the printer to complete the task. Always handle the printed cards gently to avoid smudging the ink or damaging the surface.
How Do You Print a Card at Home?
To print a card at home, you'll need a printer capable of handling cardstock. Begin by designing your card using software or templates. Next, adjust your printer settings to match the dimensions and thickness of the cardstock. Load the cardstock into the printer's paper tray, ensuring not to overfill it. If available, use the manual feed option for better control. Check your printer's specifications for acceptable cardstock weight and size. Once configured, initiate the printing process and allow the printer to finish. Exercise care when handling the printed card to avoid smudging the ink or causing damage. With these steps, you can create personalized cards conveniently from the comfort of your home. Need papers? Red River Paper has the best selection online at affordable prices.
Inspired Yet?
Related Posts and Information
Last updated: April 02, 2025


