Please note that inkjet printers (even the same models) are not all the same. One may feed better than another. Don't expect every printer you buy to perform the same.
Double-sided Paper Note - Both sides of double-sided paper can be photo printed as they are both coated. The coating makes each side very smooth and for an inkjet printer, this may present mis-feeds in some printer models. It is important that you keep your printer maintained by cleaning the feed rollers after each box of matte paper you use!
Tip #1 - Clean Your Printer
Properly maintain your printer. If you use the printer often, use cotton art papers, and especially double-sided inkjet papers, you should clean the feed mechanism often.
To keep your printer clean you can do the following:
Tip # 2 - Use Your Printer's Thick Paper Feature
Most printers have a software based control to move the print head up or down to adjust for paper thickness.
The ability to raise the print head comes in handy if you've seen these problems:
- Pronounced lines in an image
- Scuff marks
- Ink splotches - particularly on the edges of paper
Learn more - Printer adjustments for thick papers
Epson SureColor Note - EMY FILES
SureColor printers released after 2019 use EMY files to control paper thickness and platen gap settings. Learn more and how to use EMY files here.
Tip # 3 - Check Your Paper Guide
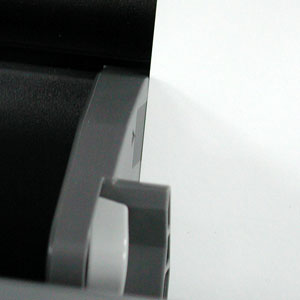
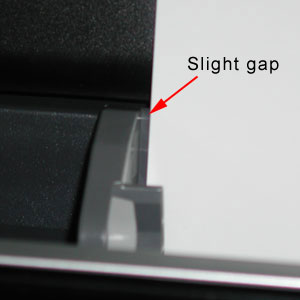
Do not push the paper tray guide up against the paper. Leave no more than 1/4" gap between the guide and the paper.
Tip #4 - Specialty Paper Feed Path
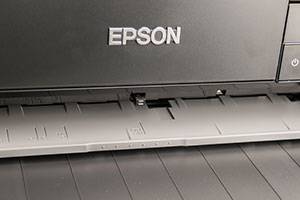
Some printers have a feed path dedicated to thick or specialty papers. They are typically on the front or far back of the printer.
Some printers with this feature are:
Epson P900, P700, P800, 3880, P600, R3000.
Canon PRO-1000, PRO-10, PRO-100, PRO-200, PRO-300
If you are not sure about your printer, locate the manual and look up paper feed options. Browse our printer review and Insiders Guides as well.
Tip # 5 - Give it a Push
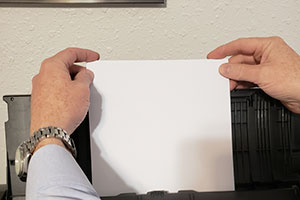
Push. It may sound odd, but physically pushing down on the paper as the feed cycle begins if often the quickest and most effective way to make your printer feed paper.
As shown at right, gently place both hands on the corners of the paper. Apply gentle but steady down pressure as the printer feed cycle begins. The printer will begin pulling on the paper and this is the point where your help is most beneficial. Press down until the printer has a definite positive grasp on the sheet.
Tip # 6 - Less is More
When using card stock, put no more than about 5 sheets in the feed tray at a time. You should experiment with the number between 1 and 5 to see what your printer likes best.
Tip # 7 - Fan the Stack
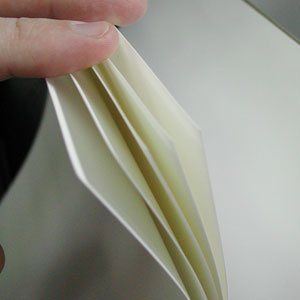
Fan your paper before feeding placing in the printer. Simply fanning the paper will better separate the sheets, release any excess coating or paper dust, and introduces a little air in between each sheet.
Tip #8 - Reverse Curl
Should you experience head strikes - black marks or scuffing on the print - give your paper a slight downward curl on the leading and trailing edge. Do this just before printing. Using care, you can introduce quite a bit of downward curl without damaging the paper.
Looking for some true heavyweight card stock?
Video Tips
These videos focus on note card sizes, but the advice is applicable to all sizes of inkjet paper.
Inkjet Printer Feed Roller Maintenance
Proper Handling and Feeding of Inkjet Note Cards
Last updated: September 14, 2023


