Vertical Image Card Layout
Keep these items in mind:
- The program does not have guides or rulers - you'll need to "eyeball" the placement of the photo
- You cannot print borderless cards on our paper sizes
- You will need to define a custom paper size in your printer driver (we'll show you how)
Start in the main menu and click on Art Studio
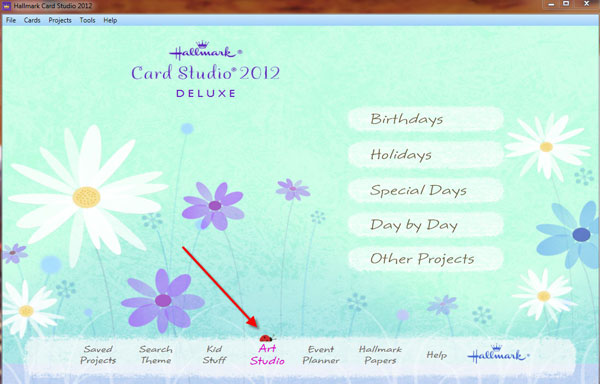
Under document types choose "Greeting Cards" then click Classic Blank Vertical
Once the blank card layout loads, find the Let's Look At menu and click Front.
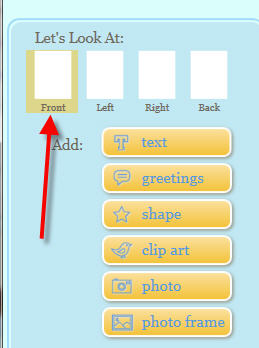
Once you've highlighted Front, you can add photos, text, and art to the front of your card. We'll cover adding a photo below.
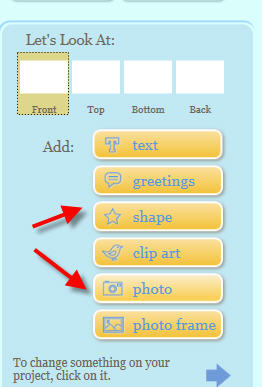
Click the Photo button on the below menu. When the finder dialog appears navigate to the image you wish to add and click Open.
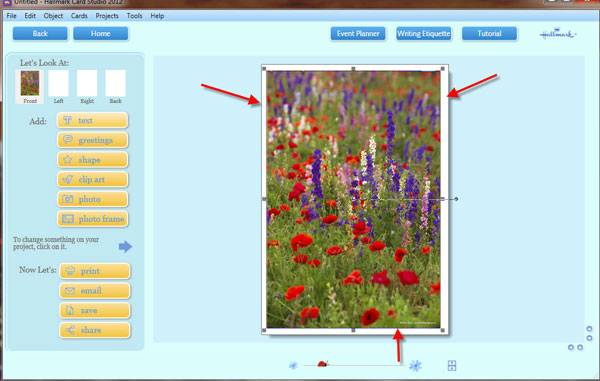
The image appears on your card layout. The size will likely not be correct to begin.
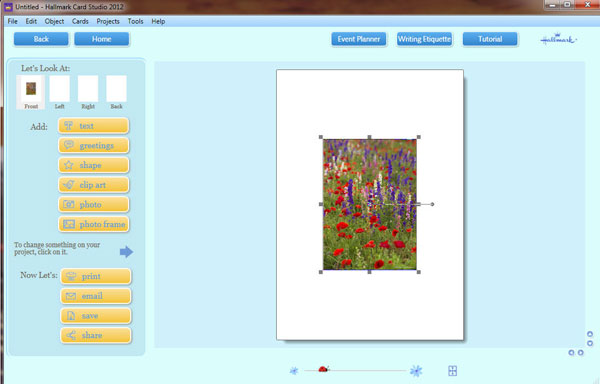
The Card Studio does not offer rulers or margins, so when you resize the image you will need to "eyeball" the margins as you increase its size.
How to resize an image
As you see below, the image (when you click on it) gets a series of squares around the edge. These indicate places to click, grab, and drag to change the dimensions.
However, you will likely want to keep the image proportions the same when you change the size. Here's how:
Click and hold your mouse button on the square between the two red arrows below. At the same time press and hold the shift key. Now drag your mouse to the right and the image will get bigger and maintain its proportions.
As you do this you can also let go of the resize box, then click and drag the image around the layout.
Note: You cannot print borderless cards on any custom paper size like Red River's note cards. Depending on your printer, there will always be a small 1/8" to 1/4" margin on all sides of the paper.
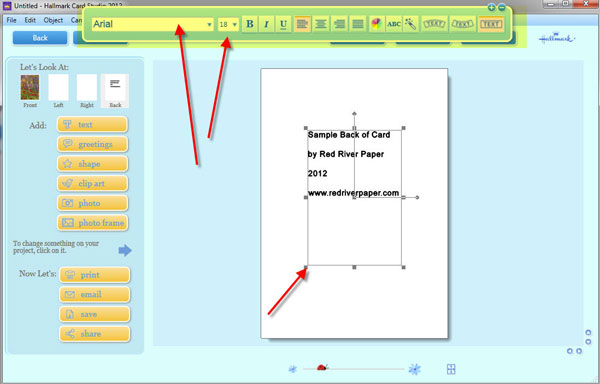
The Back of Your Card
Click on the Back icon in the Let's Look At menu to proceed.
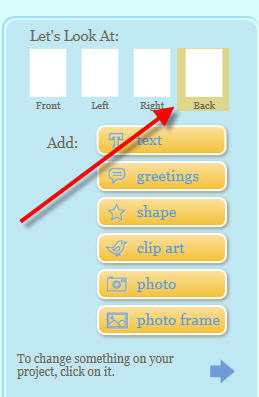
You can add any items to the back of your card including another photo, text, or graphics. We're going to show you the basics of adding text.
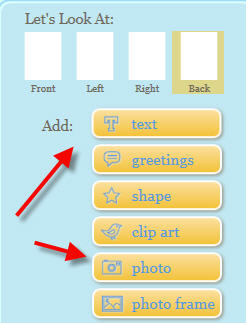
Click on the text button in the above menu and the Add Text dialog will appear. Type your message here including any spaces and line breaks you wish to appear then click OK.
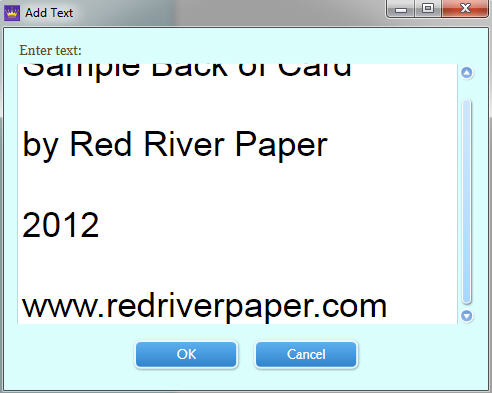
The text will appear as a group on the layout like your photo did above. You will notice a text formatting menu is now available (highlighted in yellow below). Use the controls to change the size and look of your text.
We recommend spending a few minutes trying out each of the formatting features.
You can add more than one "box" of text by clicking on the text button again and again.
Next - Printing Your Card
Related Posts and Information
Last updated: January 27, 2021


