UPDATED VERSION AVAILABLE
This tutorial is specific to Mac OSX 10.11 El Capitan.
Click here for the most up to date macOS profile install instructions
The process of "installing" an ICC color profile is nothing more than pasting (or drag and drop) into a specific folder in the operating system. Your printing software looks in that folder when it comes time to print. It then creates a profile list you can choose from in the print dialog.
If you use Photoshop CS4 or earlier, or Photoshop Elements, restart your computer after following these instructions.
Learn better with video? Click here.
Download and Unzip the Profile
You can find all Red River Paper profiles here
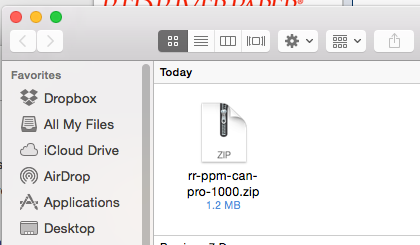
Profiles come from our website as zipped folders. Downloaded items usually arrive in your Downloads Folder or on the Desktop. This is computer specific and Red River Paper does not have control over where items are saved on your computer.
Double click the zipped folder.
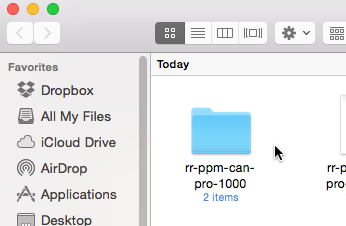
An unzipped folder will appear next to the zipped item you just clicked. Double click this folder to see its contents.
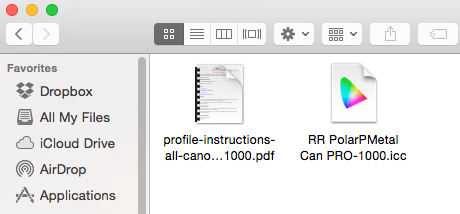
A typical profile download will contain an ICC profile and an instructions PDF.
Copy the profile
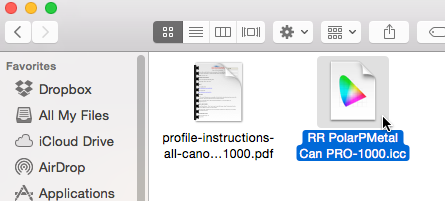
Start by single-clicking on the profile to highlight it.
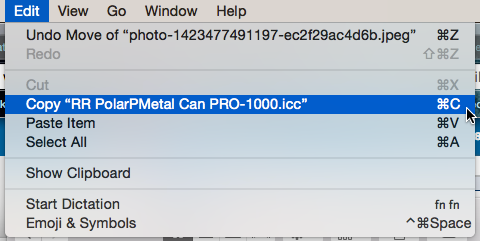
Go to the Edit menu and click on Copy
Locate the profiles folder
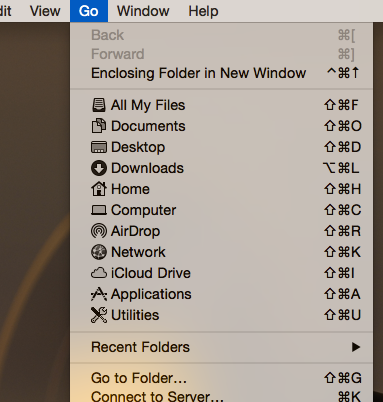
Click on the Go menu.
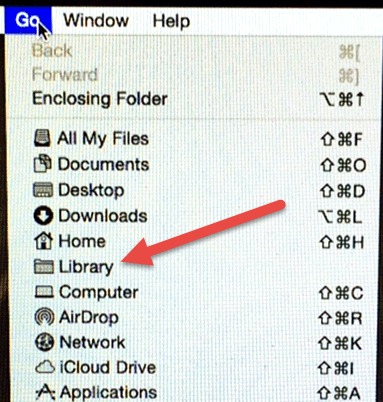 |
HOLD DOWN THE OPTION KEY ON YOUR KEYBOARD |
The "Library" option will appear in the Go listing. Click it.
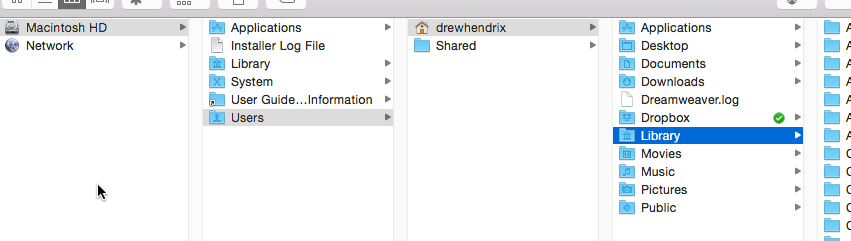
Clicking "Library" in the Go menu will launch a finder taking you to the Library folder under your user folder.
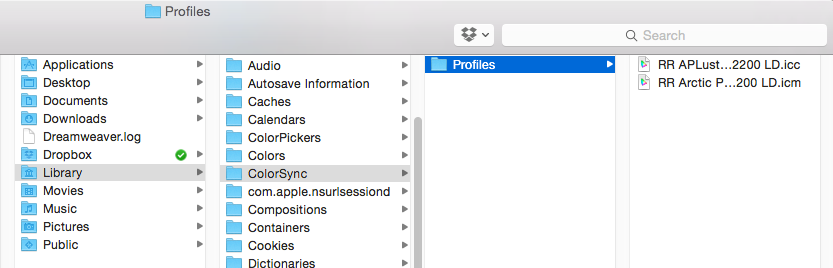
Once you are in the Library folder you will navigate to:
ColorSync > Profiles as shown above.
Paste the profile into the Profiles folder

Place your mouse over a white space in the profiles folder and click once.

Go to the Edit menu, locate and click on "Paste Item".
The profile has now been "installed" into your system. It will be available in the profile selection of your photo editing / printing program.
Summary
Installing a profile is the act of putting a profile into the Profiles folder on your Mac HD.
The path - Mac HD > Your User Name > Library > Colorsync > Profiles
If you do the above without error and the profiles still do not appear in your applications:
1. Restart your app
2. Restart your computer
3. Put the profiles into this alternative path - Mac HD > Library > Colorsync > Profiles
Next Steps - Using Profiles
After the profile is installed, you will select them in the print dialog of your photo or editing software. Get Tutorials on how to use ICC printer color profiles.
Related Posts and Information
Last updated: November 06, 2024


