How To Use Negative Space To Create Awesome Images
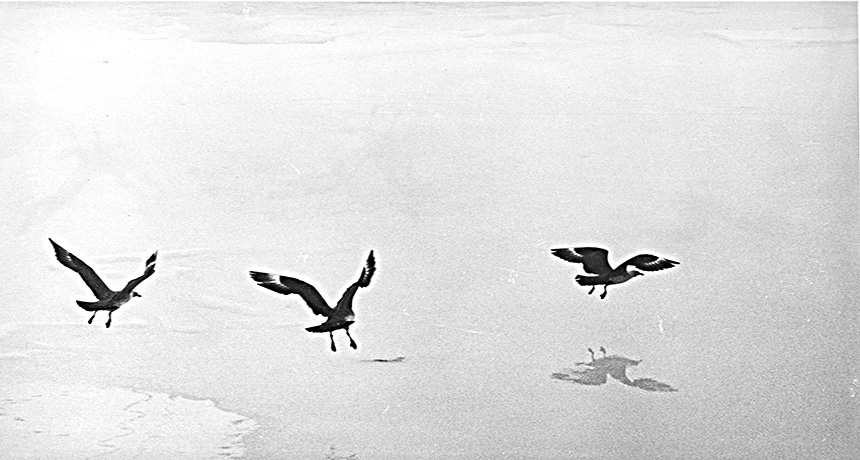
By ARTHUR H. BLEICH
All Images © The Author
“Less Is More"was the mantra of artists and photographers who eagerly embraced the emergence of the Minimalist Art movement in the early 1950s. Images were becoming too cluttered, they argued, and needed more “negative space” around subjects to create a more dramatic viewing experience.
NEGATIVE SPACE IS ALL AROUND US
Negative space is the simple background or empty area around the subject. It does not have to be totally empty, but it should not overwhelm your subject. Instead, it should work to enhance it. You can use textures, soft light or color gradients, smooth or sharp shadows, clouds, water, snow, large natural spaces, and more, as long as they do not become a distraction.
So, for example, as an alternative to shooing random images of children in a playground with its hustle-bustle background, you might choose a point of view that places some of the kids in an uncluttered space. That simple move would instantly make him or her the center of attention.
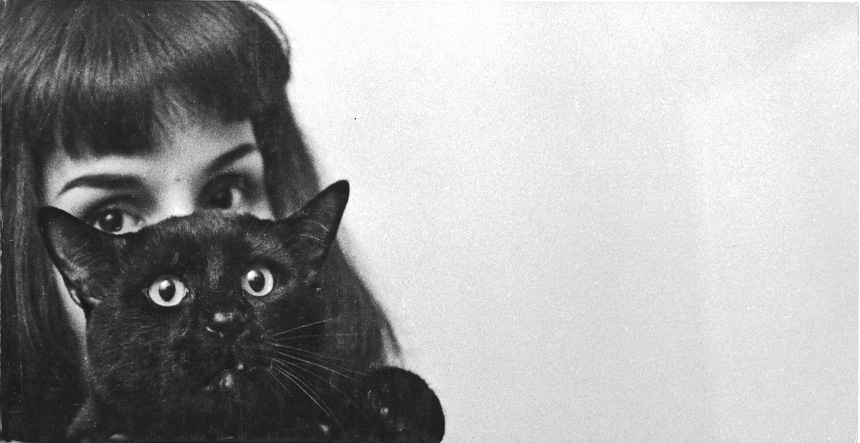
USING NEGATIVE SPACE EFFECTIVELY
Learning to use negative space when composing some of your images can improve them immeasurably by making subjects and objects stand out as never before. But to master the technique, you’ll have to “think different” when framing your shots.
Most photos have the space around the main subject related to it in some way that allows the eye to wander around, taking in all the elements. But a subject surrounded by negative space is more compelling–the eye is drawn to it like a magnet to metal, and the viewer is forced to explore it immediately without being distracted by other visual elements
There are several ways that you can create negative space in your images, the easiest of which is by using large apertures to blur the background. You can also use contrast by positioning a light subject against a dark background or vice versa. As you get more comfortable with the concept, start framing your image so that half or more of it remains empty.
The concept of using negative space sounds absurdly simple. But if you’ve been doing traditional photography for some time, it may seem to go counter to everything you’ve learned (and instinctively do) when composing your images. Here’s an exercise you might want to try to get your eye retrained to take advantage of using this minimalist approach.
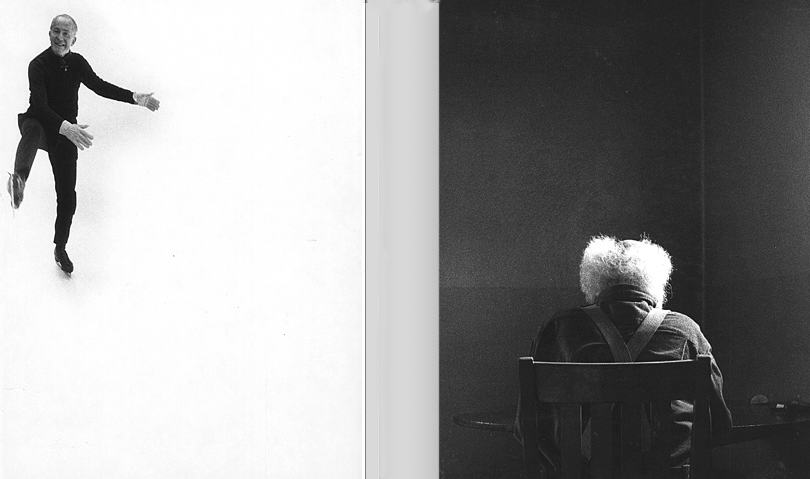
RE-TRAINING YOUR EYE
Take a small everyday object (a cellphone, car keys, coffee mug, watch, a child’s toy, etc.) and place it on a tabletop or in front of a simple background such as a wall, curtain, or piece of poster board. Then photograph it a different ways, always leaving at least 50% or more of the frame empty. Shoot it from high and low angles, and if the background seems to be intrusive, throw it out of focus.
Use front, back, and side lighting and let your imagination run wild. As you do this exercise, try to increase the amount of negative space, even if it means only shooting a part of the object you’ve selected. Then look at the results and, chances are, you’ll be surprised at the many new ways it looks - ways you might have never imagined before.
NOW YOU'RE READY TO SALLY FORTH
Now begin to do some real-world shooting, leaving an adequate space of 50% or more in front of moving subjects. Even incorporate negative space when shooting inanimate objects (such as statues or monuments). If portraits or wildlife are your thing, frame your subjects off-center, either looking at the camera or off into the negative space. As you shoot more images, you’ll begin to feel at ease with the frame not being filled with unnecessary visual elements.
Here’s another point to consider. I’ve found that some images shot in landscape orientation, with negative space to one side or the other of a main subject, may look better if they are flipped horizontally. This can easily be done in your imaging program by going to: Image>Rotate> Flip Horizontal. You can then decide which looks better.
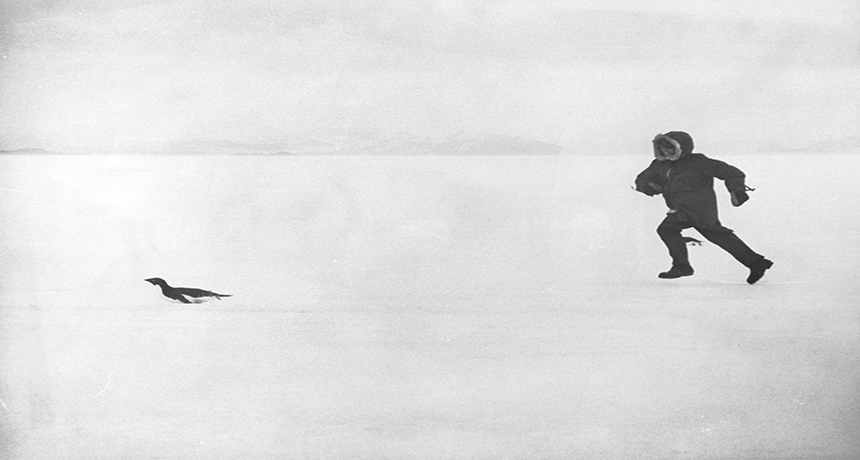
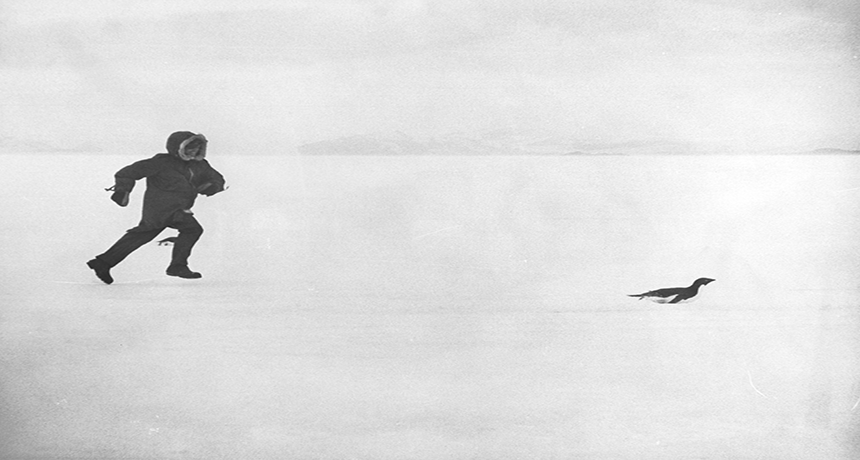
NEGATIVE SPACE THRIVES IN B&W IMAGES
We are so used to shooting images in color these days, that we sometimes forget the power of black and white which can be especially effective in minimalist photography. It can eliminate the distraction of color, simplify light and shadow, and emphasize texture and form to give the image more power.
So if you feel that using negative space in a color image seems to fall short, use your imaging program to quickly view it in a black-and-white version. You may find that it gives your image a stronger look that’s more graphically aligned with the use of negative space.
The images used in this post show various ways in which I’ve used negative space in black-and-white photography throughout the years. Most were done for editorial, commercial, or military assignments while others were personal creative work. When some were exhibited, feedback from viewers always favored those with negative space.
SEARCH YOUR FILES FOR HIDDEN GEMS
Once you grasp the concept of negative space, go through your photo files and use your imaging program to create negative space in photographs you’ve already shot . Crop, blur, or remove unwanted elements to create negative space, and you’ll come up with more visually powerful versions of images you might not have thought much of before.
This can become a great photo project when inclement weather limits outdoor shooting. Just remember to keep in mind: "Less is more"!
Note: “Less is more” first appeared in a poem by Robert Browning in 1855 and was subsequently used almost a hundred years later by minimalist architect Ludwig Mies van der Rohe to describe the essence of Minimalism.
RESOURCES:
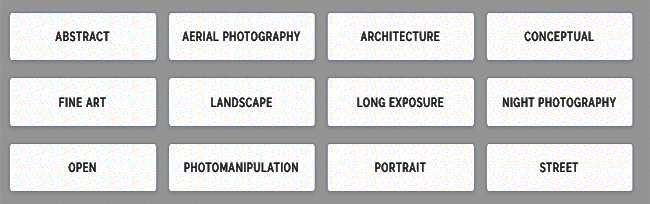
This site awards yearly prizes for outstanding minimalist photography in each of the categories below. Once there, click on WINNERS' GALLERY to see many excellent examples of images from previous years to the present that have used negative space creatively.
Original Publication Date: September 26, 2026
Article Last updated: September 28, 2026
Related Posts and Information
Categories
About Photographers
Announcements
Back to Basics
Books and Videos
Cards and Calendars
Commentary
Contests
Displaying Images
Editing for Print
Events
Favorite Photo Locations
Featured Software
Free Stuff
Handy Hardware
How-To-Do-It
Imaging
Inks and Papers
Marketing Images
Monitors
Odds and Ends
Photo Gear and Services
Photo History
Photography
Printer Reviews
Printing
Printing Project Ideas
Red River Paper
Red River Paper Pro
RRP Products
Scanners and Scanning
Success on Paper
Techniques
Techniques
Tips and Tricks
Webinars
Words from the Web
Workshops and Exhibits
all
Archives
August, 2026
July, 2026
June, 2026
May, 2026
April, 2026
March, 2026
February, 2026
January, 2026
November, 2025
more archive dates
archive article list


Red River Paper Inc. All contents © 1997 - 2026. 8900 Ambassador Row, Dallas Texas, 75247. Prices, specifications, and images are subject to change without notice. Not responsible for typographical or illustrative errors. Website Terms & Conditions | Acceptable Use
Site Development & Maintenance: Phosphor Media, LLC