Use Free Old-time Card Images For Your Holiday Greetings This Year!
By ARTHUR H. BLEICH
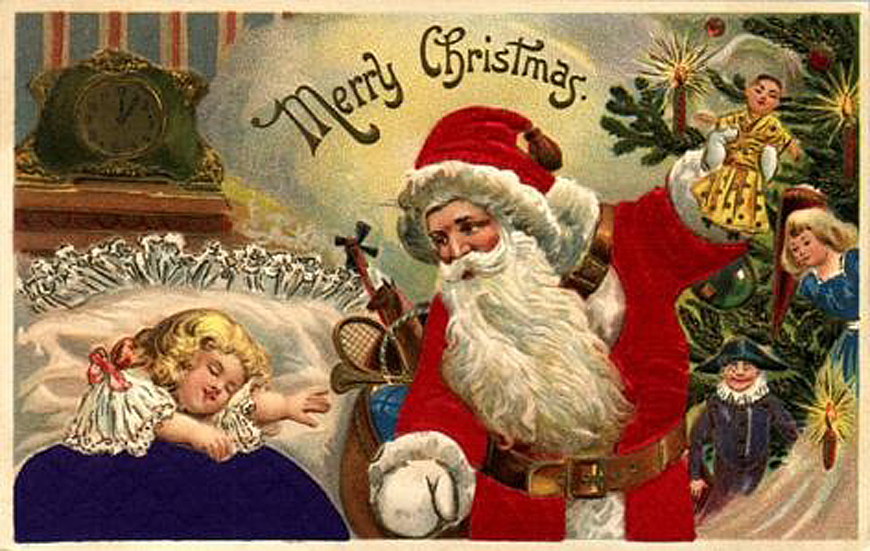
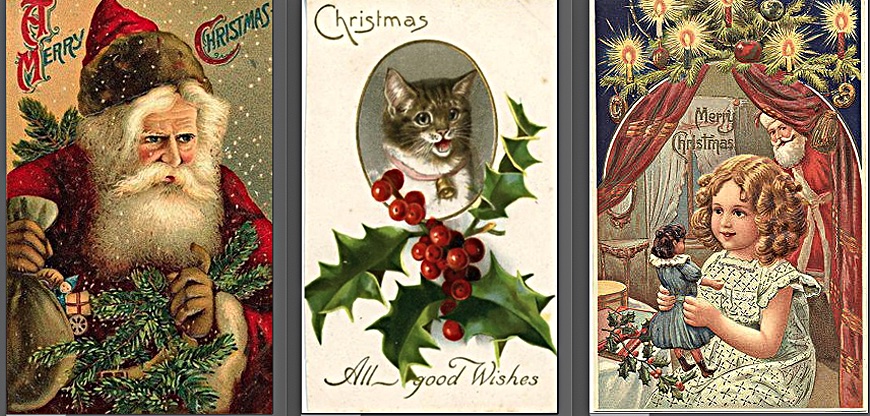
Old-time images from Christmas (and other) holiday cards that circulated during the late 1800s and later have been digitized and can be used free of charge to give your own holiday cards some nostalgic flavor.
A good image source to begin with is Vintage Holiday Crafts (see Resources below), which not only offers free Christmas card images, but also many old time card images for other holidays and occasions as well. Other sites also offer free retro images but many intermix free and pay-for images together and can be somewhat of a chore to navigate.
Most vintage images will require minor size modifications after you download them in order to fit the standard, folded 5×7-inch greeting card dimension.( NOTE: Before folding the card, paper size will be 10x7- inches.) All of this is easy to do with the help of free templates that Red River Paper supplies for different-sized cards and imaging programs. (see Resources below.) If you're new to card-making, their short, video tutorials will have you up and running in no time. (See Resources below.)
ACQUIRING YOUR FREE IMAGES
Before we begin, all images you download at Vintage Holiday Crafts for personal use are free. Notices at the site about payment do not apply unless you intend to use the cards commercially. Also, ignore the “Get Templates†ads at the site since, as I've mentioned previously, you can get these free. (see Resources below).
I've used Photoshop Elements for the following steps but the procedure is pretty much the same for any imaging program.
1. On the Vintage home page, click on Easy Art Finder and then, when there, select a category.
2. Go through the thumbnail images. When you click on a desired image, a larger version will appear.
3. Click on the image and drag it to your desktop or other desired location on your computer.
4. Alternatively, you can download and save it in Windows or Mac by right clicking on the image and using the drop-down menu to save it to any location on your computer.
CHOOSING YOUR OUTPUT RESOLUTION
Most images have resolution of 96 ppi, but not to worry as their final printed size on the card is not more than 5x7 inches. Run a test print and decide for yourself. Remember, it's easy to resample your images in your imaging program to higher resolutions– even to 300 ppi without losing noticeable quality. In fact, if you'd like to frame some as artwork or otherwise display them larger– as household decorations, for example– you can upscale them to really high resolution using a free app called Upscayl AI (see Resources below.)
ONCE IT'S IN YOUR IMAGING APP
1. Bring you selection into you imaging program and choose Image>Image Size.
2. Make sure Resample Image and Constrain Proportions boxes are checked.
3. Enter either the vertical or horizontal size required by the template. You will note that you probably cannot specify both. Not to worry.
4. Enter a Resolution value of 200 ppi.
5. Then Click OK.
You will now have image that may not fit the exact dimensions called for in the template. You can crop the image to the exact size needed but you might lose some of it. Usually that's not a problem but if you want to be precise and retain the entire image there's another way to go

.AN EASIER WAY TO RESIZE THE IMAGE
Instead of following Step 2, do the following: Uncheck the Constrain Proportions box and enter the exact image size called for in the template to fit the card– along with your desired resolution. Then go on to Step 4. This may produce a tiny distortion of the image, but it's usually unnoticeable. Remember to check the Constrain Proportions box again when you've finished.
MAKING A FEW SIMPLE IMAGE TWEAKS
Some of these images may lack adequate color saturation (because they've faded over time) and may also be a bit soft (though some card makers feel it's part of their charm). Here's what I suggest:
1. First try something simple. Go to Image > Adjustments > Brightness/Contrast. Sometimes moving these sliders a bit is all you'll need to “pop†the image up.
2. If necessary, you can also use Image > Adjustments > Hue and Saturation which will give you control over the richness (saturation) of the colors.
3. If it has an overall color cast that you want removed, then go to Image > Adjustments > Color Balance and get rid of it.
4. After the image looks good, try a touch of sharpness to see if it makes it look better. It won't require much, so even Enhance > Auto Sharpen may be all that's needed. If you're comfortable with Unsharp Mask, you can try that, instead. I've found that an Amount 50 is usually all I need as anything higher starts to look a bit weird.
Now, on regular inkjet paper (to avoid wasting card stock) make a dew test prints at different resolution settings until you hit it on the nose. For example, you might be able to get a perfectly good print from a resolution of 100 ppi. On the other hand, it might take 300 ppi to give results you like. You are simply looking for a good, clean image,

TRY DIFFERENT CARD STOCK SAMPLES
You'll also want to try some different card paper surfaces My preferences are Mat papers because they reflect the time period in which these images were used and also minimize minor imperfections. But, some card-makers love a glossy finish. A great way to make a decision is to order a Card Shop Sample Kit (see Resources below). This will help you make paper surface and envelope comparisons and also includes other valuable information about how to set up your printer.
READY, SET, GO!
Once you have the simple technical details worked out, you can now easily send cards to celebrate other holidays and events. Emailing cards may be easy, but they're ephemeral and are usually trashed. A paper card (which you can produce for under a dollar) has staying power; it can be touched, displayed and cherished forever. Which would you prefer to receive? I'll bet the vintage cards you send will be the ones most admired, remembered and shared with others. Happy Holidays!
RESOURCES:
Red River Card Shop Here you'll find information about different card stock. If you're new to card making, scroll way down to the section on HELPFUL LINKS and view Five Easy Steps To Printing Greeting & Note Cards.
Red River Templates for Photoshop, Lightroom, Photoshop Elements and other imaging programs are found here. You will also find links to tutorials, and more.
Upscayl AI A free, easy-to-use image upscaler that uses Artificial Intelligence to make flawless enlargements of low resolution images. An in-depth, recent blog review can be found here.
For ther retro card image sites Google: Fee vintage holiday card sites.
NITE: All images from Vintage Holiday Crafts unless otherwise attributed.
Original Publication Date: November 25, 2025
Article Last updated: November 25, 2025
Related Posts and Information
Categories
About Photographers
Announcements
Back to Basics
Books and Videos
Cards and Calendars
Commentary
Contests
Displaying Images
Editing for Print
Events
Favorite Photo Locations
Featured Software
Free Stuff
Handy Hardware
How-To-Do-It
Imaging
Inks and Papers
Marketing Images
Monitors
Odds and Ends
Photo Gear and Services
Photo History
Photography
Printer Reviews
Printing
Printing Project Ideas
Red River Paper
Red River Paper Pro
RRP Products
Scanners and Scanning
Success on Paper
Techniques
Techniques
Tips and Tricks
Webinars
Words from the Web
Workshops and Exhibits
all
Archives
June, 2026
May, 2026
April, 2026
March, 2026
February, 2026
January, 2026
November, 2025
September, 2025
August, 2025
more archive dates
archive article list


Red River Paper Inc. All contents © 1997 - 2026. 8900 Ambassador Row, Dallas Texas, 75247. Prices, specifications, and images are subject to change without notice. Not responsible for typographical or illustrative errors. Website Terms & Conditions | Acceptable Use
Site Development & Maintenance: Phosphor Media, LLC