How to Print on Cardstock
Cardstock is extremely versatile and can be the go-to canvas for a multitude of projects. But when it comes down to getting the job done, there are some key steps in the printing process that can make the process a more effective and enjoyable one. There's a difference between planning a weekly date night and planning a wedding. Likewise, printing a recipe on plain 8 1/2" paper and printing your artwork on cardstock are very different. In both cases, the former can be casual and spontaneous, while the latter takes some thought and effort to create an elegant outcome.
If you're printing greeting cards, note cards, or printable postcards — you have to prepare the groom (your printer) and the bride (your paper) before uniting the two in wedded bliss. Let's look at some helpful hints for prepping both printer and paper.
Step #1 ~ Clean Your Printer
This is one of those maintenance chores most of us don't think to do regularly. Yet if you use cotton art papers (especially double-sided inkjet papers) or your printer is used often, the feed mechanism must be cleaned frequently. Double-sided paper has a smooth coating, which can cause misfeeds in some printer models. In that case, clean the feed rollers after each box of paper you use. For step-by-step cleaning instructions, visit our DIY maintenance reference guide.
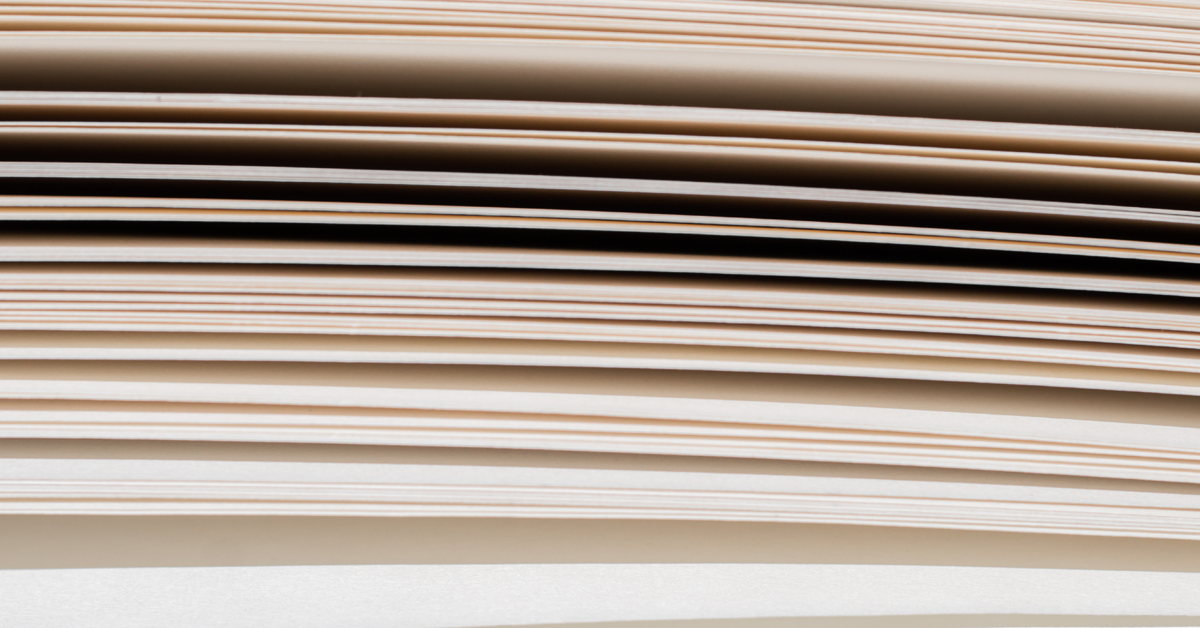
Step #2 ~ Use Your Printer's Thick Paper Feature
Most printers have a software-based control to move the print head up or down so you can adjust for paper thickness. You'll want to raise the print head if you've seen these particular problems:
• Lines in an image
• Scuff marks
• Ink splotches, especially on the paper's edges
Our reference Printer Adjustments for Thick Papers / Platen Gap should greatly help here. You'll find screenshots and helpful tips for these printers: Epson SureColor Series, Epson Pro/Wide Format (Windows and Mac), Epson Desktop (Windows and Mac), Canon Desktop (Windows and Mac), and Canon Wide Format.
Step #3 ~ Check Your Paper Guide
Resist the urge to push the paper tray guide snugly against the paper. But leave no more than a 1/8†gap between the guide and the paper.
Step #4 ~ Check Your Settings
A. DOCUMENT AND PAPER SIZES
If you're printing on 5 1/2†x 8 1/2†card stock, your printer's document settings must be the same. Photoshop users can use our template files or follow the DIY instructions on our website. If you're using Lightroom, you will have to download our easy-to-use templates. If you use other software to design cards, there's a good chance you can find help setting it up to print cards in our Resources center online.
B. CUSTOM CARD STOCK SIZE IN YOUR PRINT DRIVER
Since your printer will always assume 8 1/2†x 11†paper is in the tray, you must let it know when you're using another size. (Much like a wedding DJ will assume they should play the “Macarena†during a reception.) The card setup tips, printing advice, and tutorials linked in this article show you how to do just that.
C. SCALING AND RESIZING OPTION
Although scaling and resizing options are often available to fill the paper size, it's best to decline them. Scaling can stretch and move your text. Be sure to turn “off†the scaling or fit-to-page option in whichever app you use to print.
Step #5 ~ Give it a Gentle Nudge
Does the bride have cold feet? A gentle nudge of the card stock can do the trick. Place both hands on the top far edges of the paper and apply a light but steady downward push as the printer feed cycle begins. Do this until the printer has a definite grasp on the paper.
Step #6 ~ Check the Sheet Count
Some of us have grown used to piling a huge stack of 8 1/2†x 11†paper into our printers. But with card stock, less is more. Experiment with one to five sheets in the tray and see which your printer responds to best.
Step #7 ~ Fan The Stack
Like a bride who feels faint, fanning the paper can bring fresh air into the situation. Do this by holding the short end of the stack in one hand; with the other hand, gently flex the stack to make a loose rainbow shape, then use your thumb to release each sheet one or two at a time. This slips air between each sheet of card stock.
TIP #8 ~ Curl for the Win
If you're experiencing black marks or scuffing on your prints, do this: Just before printing, give your paper a slight downward curl on the leading and trailing edges.
BONUS TIPS ~ CORRECT PRINT SIDE + HOW TO FOLD
At Red River Paper, we pack our pre-scored note cards print-side up in the box. You'll see that the score line has two distinct sides — an indented side and a raised side. Print on the indented side for single-sided cards, then fold away from the indented side. (You can print both sides of double-sided cards.)
For detailed instructions elaborating on these tips, check out our Tips for Feeding Inkjet Papers, Printer Adjustments for Thick Papers/Platen Gap, and How to Fold Cardstock
We hope your printer and paper will be forever united in artful matrimony. You can also browse our collection of cardstock paper or postcard paper today!
Original Publication Date: November 07, 2023
Article Last updated: May 05, 2025
Related Posts and Information
Categories
About Photographers
Announcements
Back to Basics
Books and Videos
Cards and Calendars
Commentary
Contests
Displaying Images
Editing for Print
Events
Favorite Photo Locations
Featured Software
Free Stuff
Handy Hardware
How-To-Do-It
Imaging
Inks and Papers
Marketing Images
Monitors
Odds and Ends
Photo Gear and Services
Photo History
Photography
Printer Reviews
Printing
Printing Project Ideas
Red River Paper
Red River Paper Pro
RRP Products
Scanners and Scanning
Success on Paper
Techniques
Techniques
Tips and Tricks
Webinars
Words from the Web
Workshops and Exhibits
all
Archives
June, 2026
May, 2026
April, 2026
March, 2026
February, 2026
January, 2026
November, 2025
September, 2025
August, 2025
more archive dates
archive article list


Red River Paper Inc. All contents © 1997 - 2026. 8900 Ambassador Row, Dallas Texas, 75247. Prices, specifications, and images are subject to change without notice. Not responsible for typographical or illustrative errors. Website Terms & Conditions | Acceptable Use
Site Development & Maintenance: Phosphor Media, LLC