How (And Why) To Laminate Your Inkjet Prints
By ARTHUR H. BLEICH
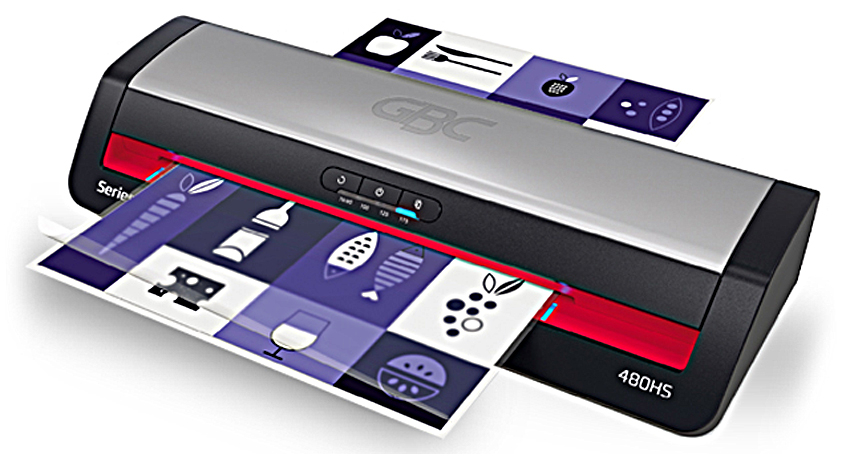
Laminating your inkjet prints is easy and inexpensive, adding a unique, eye-appealing look while offering them protection from airborne contaminants, moisture, finger prints and fading. It also adds to ways in which they can be displayed.
In this post, you’ll learn what you need to know about the lamination process and how easily it can be done on an inexpensive desktop laminator. Because so many different paper and ink combinations used to output prints, you may have to do a bit experimenting to find the results you like best, but once you do, I think you’ll be hooked.
Let’s begin by going through some lamination terminology. The desktop process involves sliding the print into a transparent pouch (much like a plastic food baggie) and then feeding it into a machine that seals it by using heat or pressure. On some machines the pouch is placed in a carrier before inserting it into the machine. Either way, The print ends up being airtight– fused between the top and bottom layers of the pouch.
HOT OR COLD LAMINATION– WHICH IS BEST?
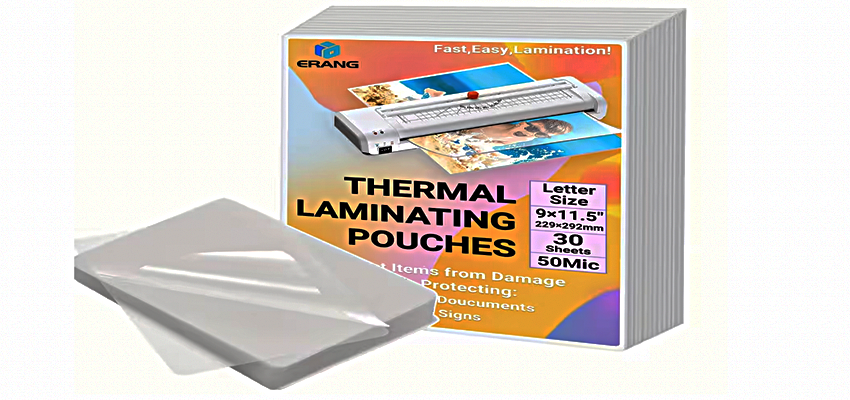
Many good desktop laminators can use either heat or pressure depending on which you select. Pouches are available for both types. Here are the principal differences between hot and cold lamination.
Hot Lamination creates a tough, highly durable, waterproof bond and requires a few minutes of warm-up time. It might not always work well some delicate paper and ink combinations and can also damage old, traditional photo prints by chemically reacting with their surface. If you want to laminate vintage photos, scan anthem first and then laminate the scanned prints.
Cold Lamination requires no warm-up time, works well with almost all combinations of ink and paper and can be used to protect most delicate paper documents. Under some conditions It may have less long-term durability than heat sealed prints and documents.
SOME BASIC RULES OF LAMINATION
1. Make sure your prints have at least 24 hours to fully dry and stabilize before laminating them.
2. Remove any dust or foreign matter from the paper surface before placing it into the pouch.
3. For a complete seal, make sure to have at least 1/8" border of laminating pouch on every side of the item you are laminating.
4. Laminating pouches come in warm and cold styles. Always match the pouch to the setting you choose.
LAMINATE THICKNESS MAKES A DIFFERENCE
The thickness of laminating film is measured in mils. A mil is the equivalent of one-thousandth of an inch. Film thicknesses can range from 1.5 to 10 Mils. Desktop laminators usually accept both 3 and 5 mil pouches. Some pouch sizes are designated in microns. A micron is one- thousandth of a centimeter and half the thickness of a mil.. For example a 50 microns (50mic) equals 2.5 mils.
Three-mil-thick pouches are suitable for documents and smaller prints. Five-mil pouches will give larger prints better rigidity and offer more display options.
GLOSSY OR MATTE FINISH?
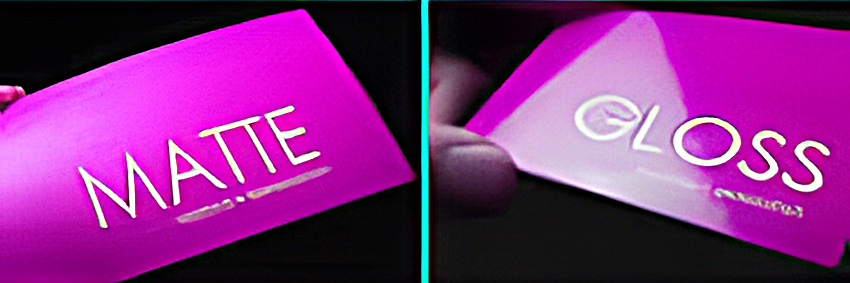
You can choose either glossy or matte laminating pouches to enhance your inkjet prints but there are no hard and fast rules as to which is better; it’s simply a matter of taste and the effect you want to achieve. Try both and decide for yourself. Here are some characteristics of each.
Glossy Lamination Makes ink colors look bright and saturated and dark blacks and bright whites stand out. However it reveals smudges, fingerprints, and catches strong glare from lights.
Matte Lamination eliminates glare and reflections by diffusing light so that the the photo can be clearly seen from any angle. Colors look more natural and not “in your face.” It does not show fingerprints if it is touched.
The effects of glossy or matte lamination will also vary depending on the paper surface you’ve chosen to print on. For example, a glossy print laminated with a matte finish may look very different from the same print that’s output on a satin or matte paper. This gives you a wide range of creative options as to how you want your laminated image to look.
Inexpensive Red River Paper Sample Kits come with several sheets each of of multiple paper surfaces you can experiment with. Their “Photography” and “Fine Art” sample kits are perfect for this purpose. (See Resources below.)
UV POUCHES HELP REDUCE FADING
Lamination pouches are also available that provide ultra-violet (UV) ray protection. They are worth the slight extra cost if your photos are displayed for hours each day in direct sunlight indoors or are used under sunny outdoor conditions. They block harmful IV rays that might in time fade some colored inks. Standard pouches, though, are fine for indoor prints that only get short periods of sunlight exposure each day.
BEFORE YOU BUY A DESKTOP LAMINATOR, TRY THIS:
By now, you may be considering buying a desktop laminator, but before you invest in one you might want to get a feel for the process by printing a few images and taking them into one of hundreds (maybe even thousands) of office supply or crafts stores throughout the country that offer laminating services. (see Resources below.)
For about $2.00 or so per letter-sized inkjet print, you can see how your photo(s) look when laminated with different combinations of surfaces and mil thicknesses. Not all stores offer every option we’ve discussed, but a trial run will allow you become get acquainted with the process and see how various paper and ink combinations respond to it.
While you’re there, browse the aisle where different kinds of display options such as mini-easels, frames, picture hangers and other items are grouped. Take your newly-laminated prints with you and get some ideas for displaying them.
WHAT FEATURES TO LOOK FOR IN A DESKTOP LAMINATOR
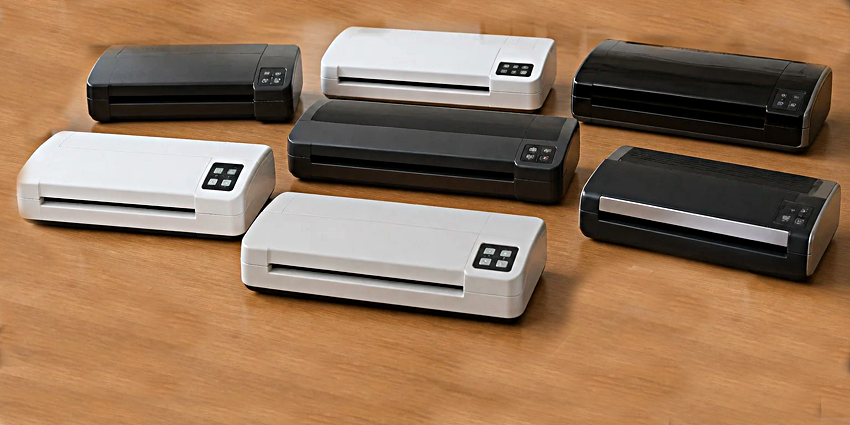
The market is loaded with various makes and models of desktop laminators at price points from about $20 up. But be prepared to spend about $50-$100 to get one with the versatility that will make laminating your prints easy. At a minimum a desktop model should have the following:
1. Can do both Hot and Cold lamination.
2. Accepts both 3 mil and 5 mil lamination pouches.
3. Takes paper sizes up to 9.5 inches wide or 12.5 inches wide depending on the print sizes you will usually be laminating.
You may also want to acquire a corner rounder (about $5-$10) to give a more finished look to the corners of your images if they are going to stand or hang alone, but if you intend to frame them without glass, do not round the corners.
CREATIVE OPTIONS FOR LAMINATED PRINTS
Laminating some of your prints can open new avenues for creativity. Because the reverse sides of laminated images are smooth, they can be affixed to almost any surface— wood, tile, glass, metal and more and held in place by double-sided tape, Velcro dots, or even repositionable glue.
You can also use laminated prints as covers for personalized photo books and their flexibility and clear finish make them ideal for lampshades and other lighted crafts projects. Use them to create place mats and even laminate note and gift cards. The possibilities are endless.
Owning a desktop laminator is not expensive and allows you to try many options in the comfort of your home or studio. It can also be used to preserve important household documents and legal papers. Once you try it, you’re bound to be delighted with the results.
RESOURCES:
Red River Paper Sample Kits
Sores Offering Laminating services: Office Depot, Office Max, Staples. Also main UPS Stores and Fedex Offices (these are different from their satellite pick up locations so call to confirm before you go.)
Original Publication Date: August 25, 2026
Article Last updated: August 26, 2026
Related Posts and Information
Categories
About Photographers
Announcements
Back to Basics
Books and Videos
Cards and Calendars
Commentary
Contests
Displaying Images
Editing for Print
Events
Favorite Photo Locations
Featured Software
Free Stuff
Handy Hardware
How-To-Do-It
Imaging
Inks and Papers
Marketing Images
Monitors
Odds and Ends
Photo Gear and Services
Photo History
Photography
Printer Reviews
Printing
Printing Project Ideas
Red River Paper
Red River Paper Pro
RRP Products
Scanners and Scanning
Success on Paper
Techniques
Techniques
Tips and Tricks
Webinars
Words from the Web
Workshops and Exhibits
all
Archives
August, 2026
July, 2026
June, 2026
May, 2026
April, 2026
March, 2026
February, 2026
January, 2026
November, 2025
more archive dates
archive article list


Red River Paper Inc. All contents © 1997 - 2026. 8900 Ambassador Row, Dallas Texas, 75247. Prices, specifications, and images are subject to change without notice. Not responsible for typographical or illustrative errors. Website Terms & Conditions | Acceptable Use
Site Development & Maintenance: Phosphor Media, LLC